Interacting with Smart Contracts on Blockscout

Blockscout features a modern, React-based interface that allows users to verify, read, write to, and interact with contracts and proxies. It automatically detects proxy patterns ([EIP-1967], [EIP-1822], Diamond) and offers separate interfaces for proxy and implementation contracts. This tutorial will guide you through effectively using Blockscout's interface to interact with smart contracts on the Optimism network.
Smart Contracts on Blockscout
Once a smart contract is verified, its methods and functions become publicly accessible, enabling users to interact with them directly. This verification process allows developers and users alike to confirm the integrity and functionality of the contract.
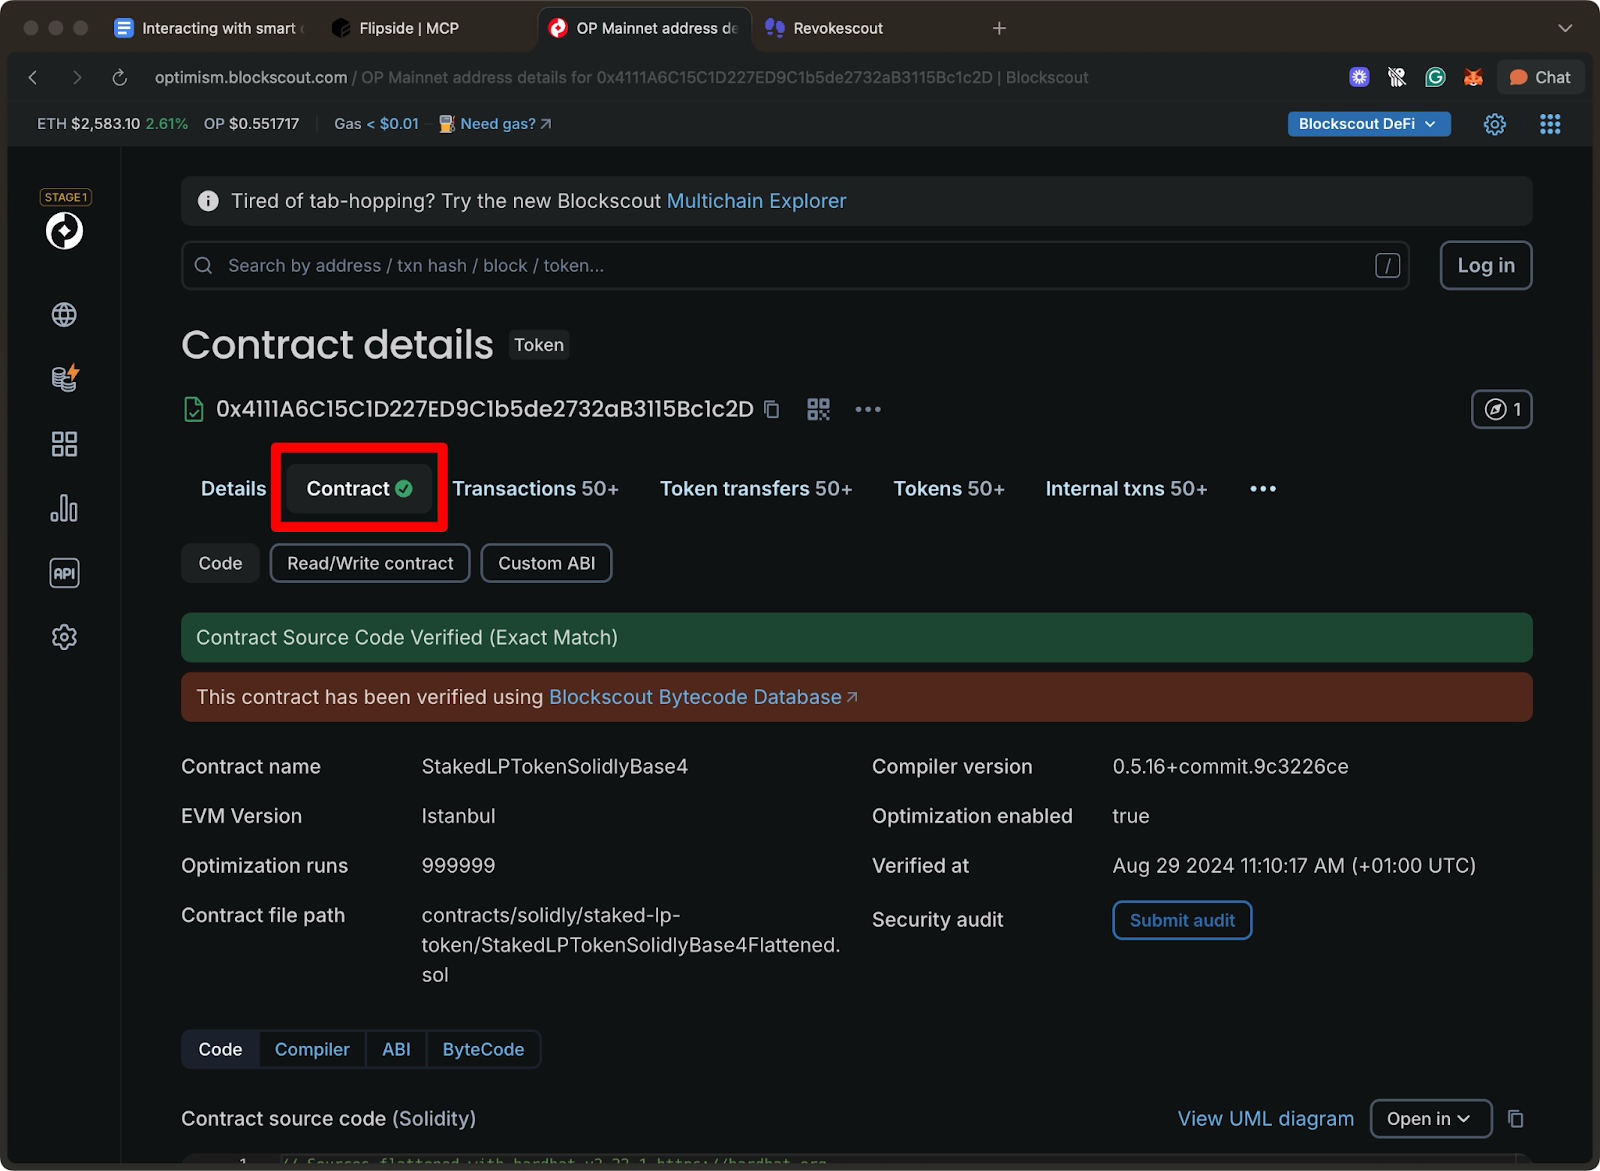
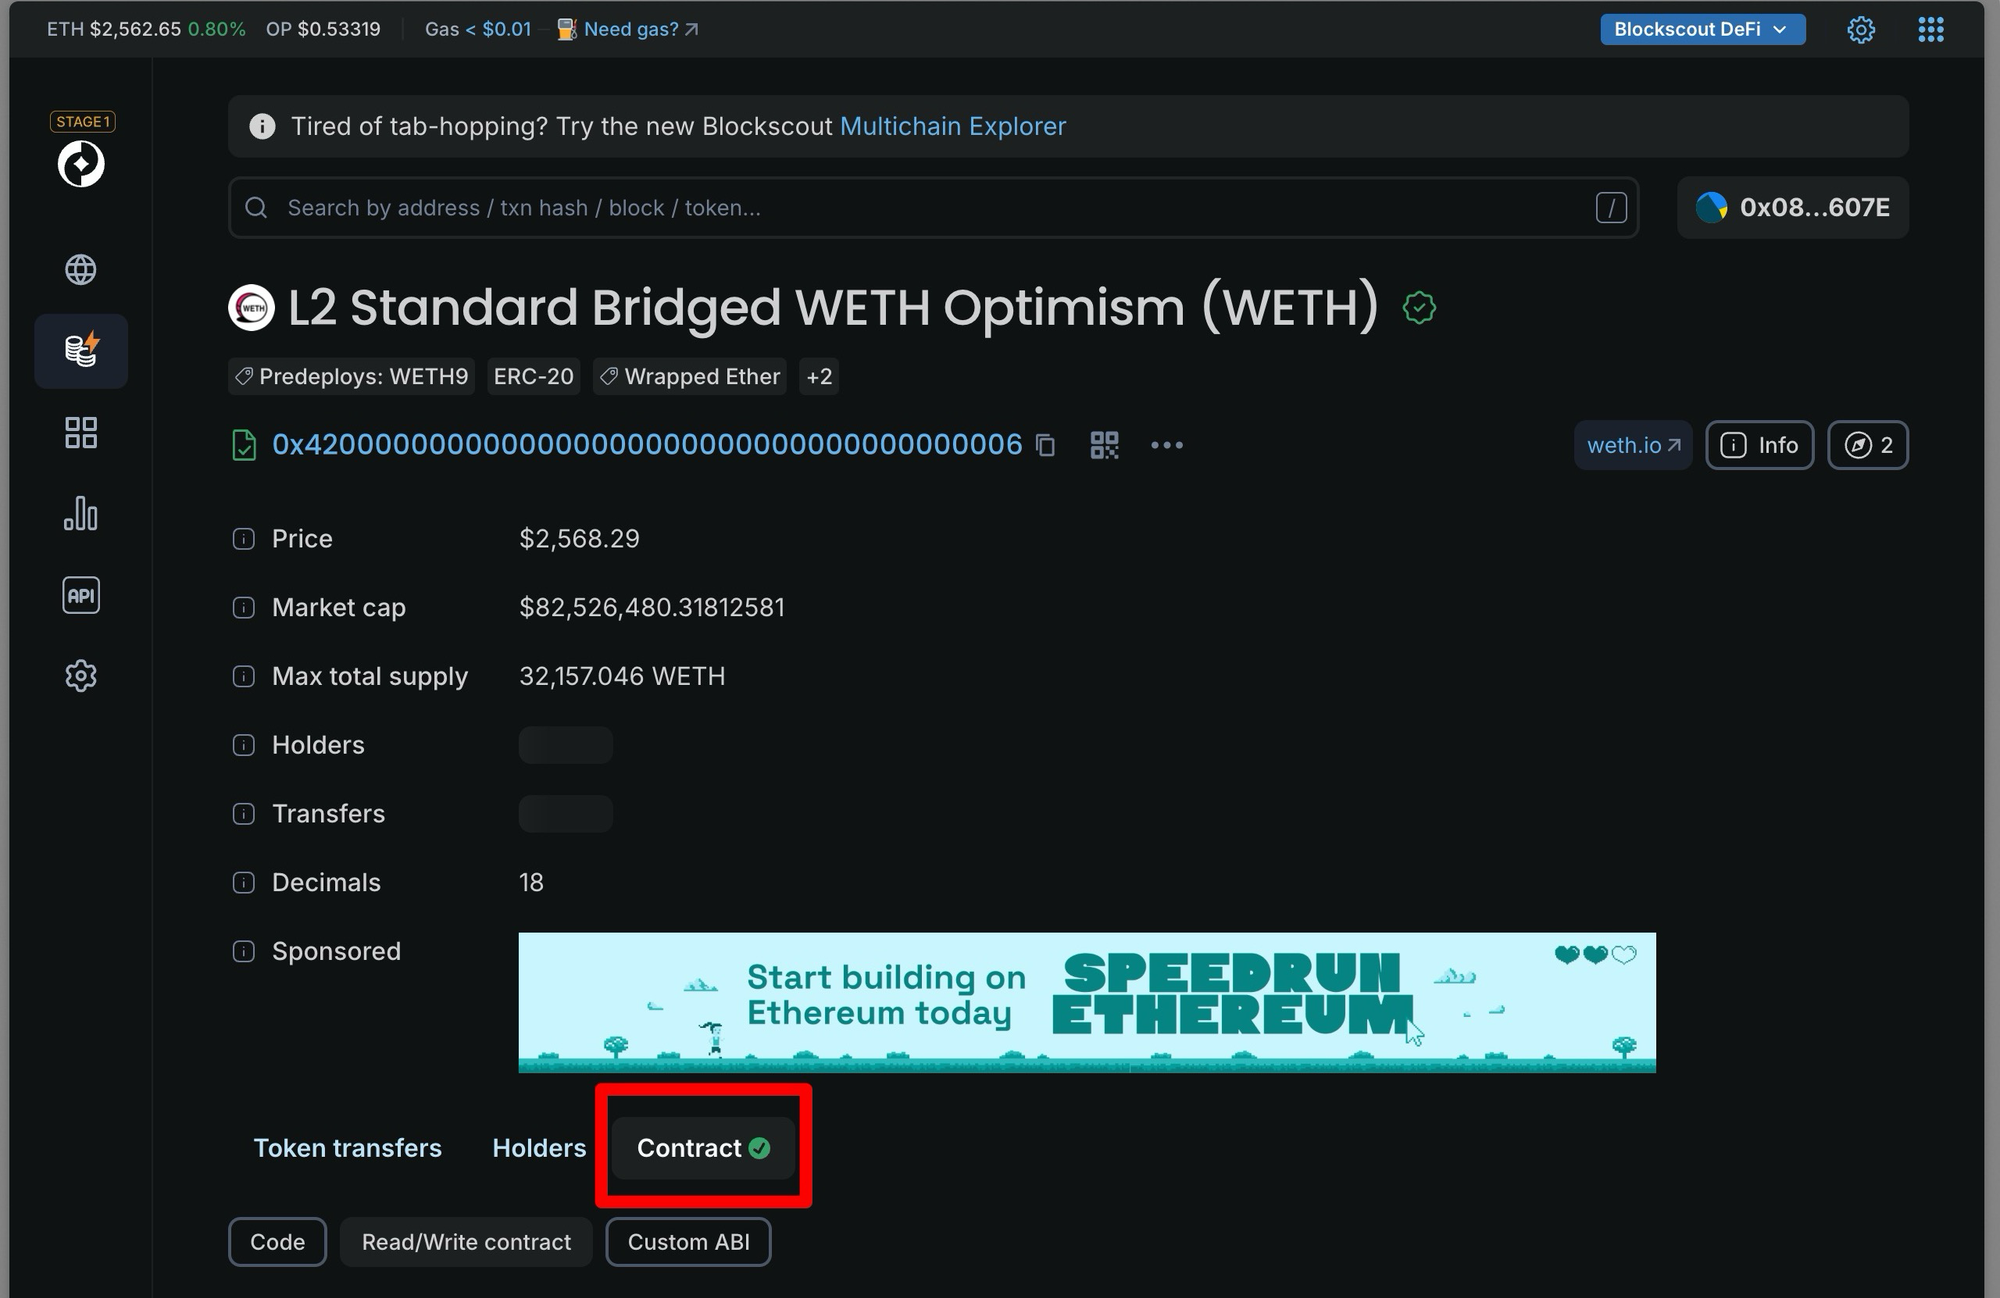
To verify if a contract is verified, look for a green checkmark (✅) next to the "Contract" tab on the Explorer instance. This green checkmark serves as an indicator of a verified contract, reassuring users that the code has been reviewed and matches its deployed version on the blockchain.
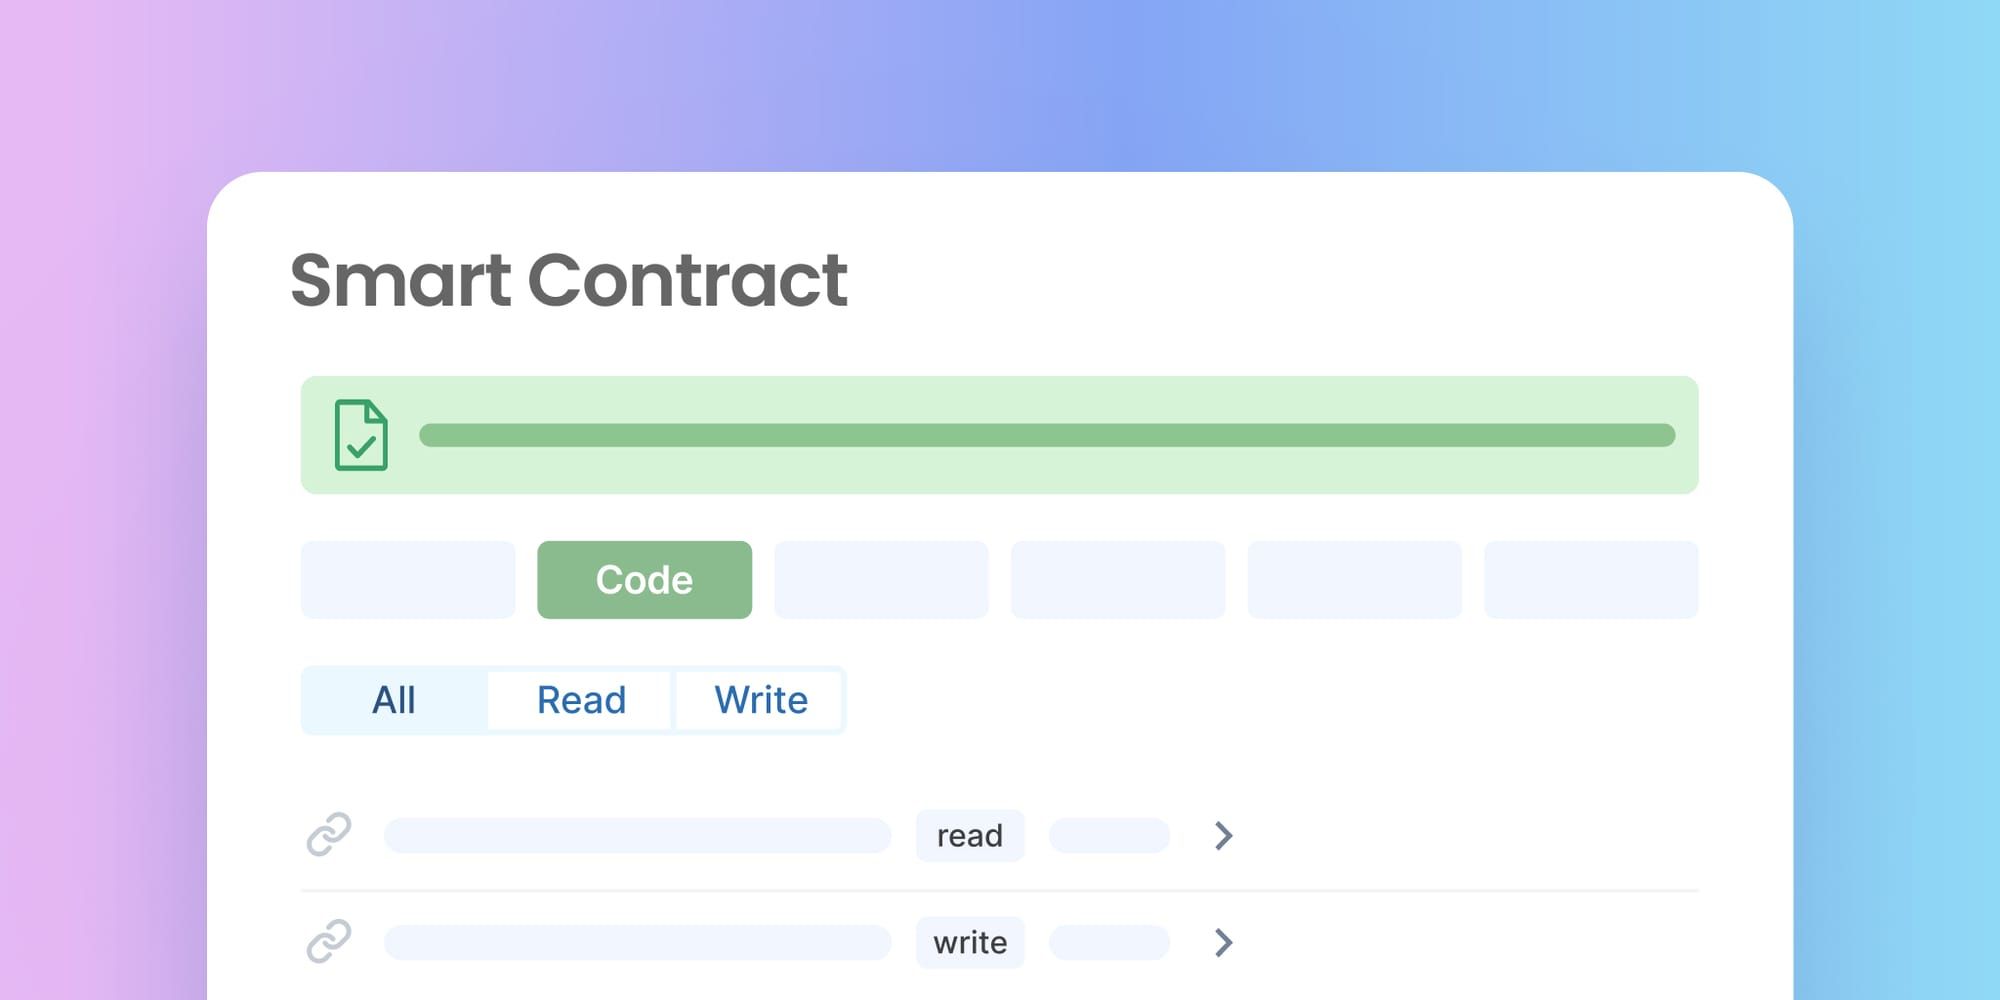
Contract Tab: This tab is the heart of smart contract interaction, and it features the following tabs:
- Read/Write Contract: Query contract state without gas costs and execute state-changing functions that incur gas fees.
- Read Proxy/Write Proxy: For proxy contract interactions (For contracts with Proxies)
- Code: Full source code with syntax highlighting
- Custom ABI: You can add custom ABIs for your contract and access them when logged into your account.
Reading WETH9 Contract
Before you do this, ensure to have the following checked
- Smart contract must be verified (✅ checkmark visible).
- Web3 wallet connected to the Optimism network.
- Understand of the contract's purpose and functions.
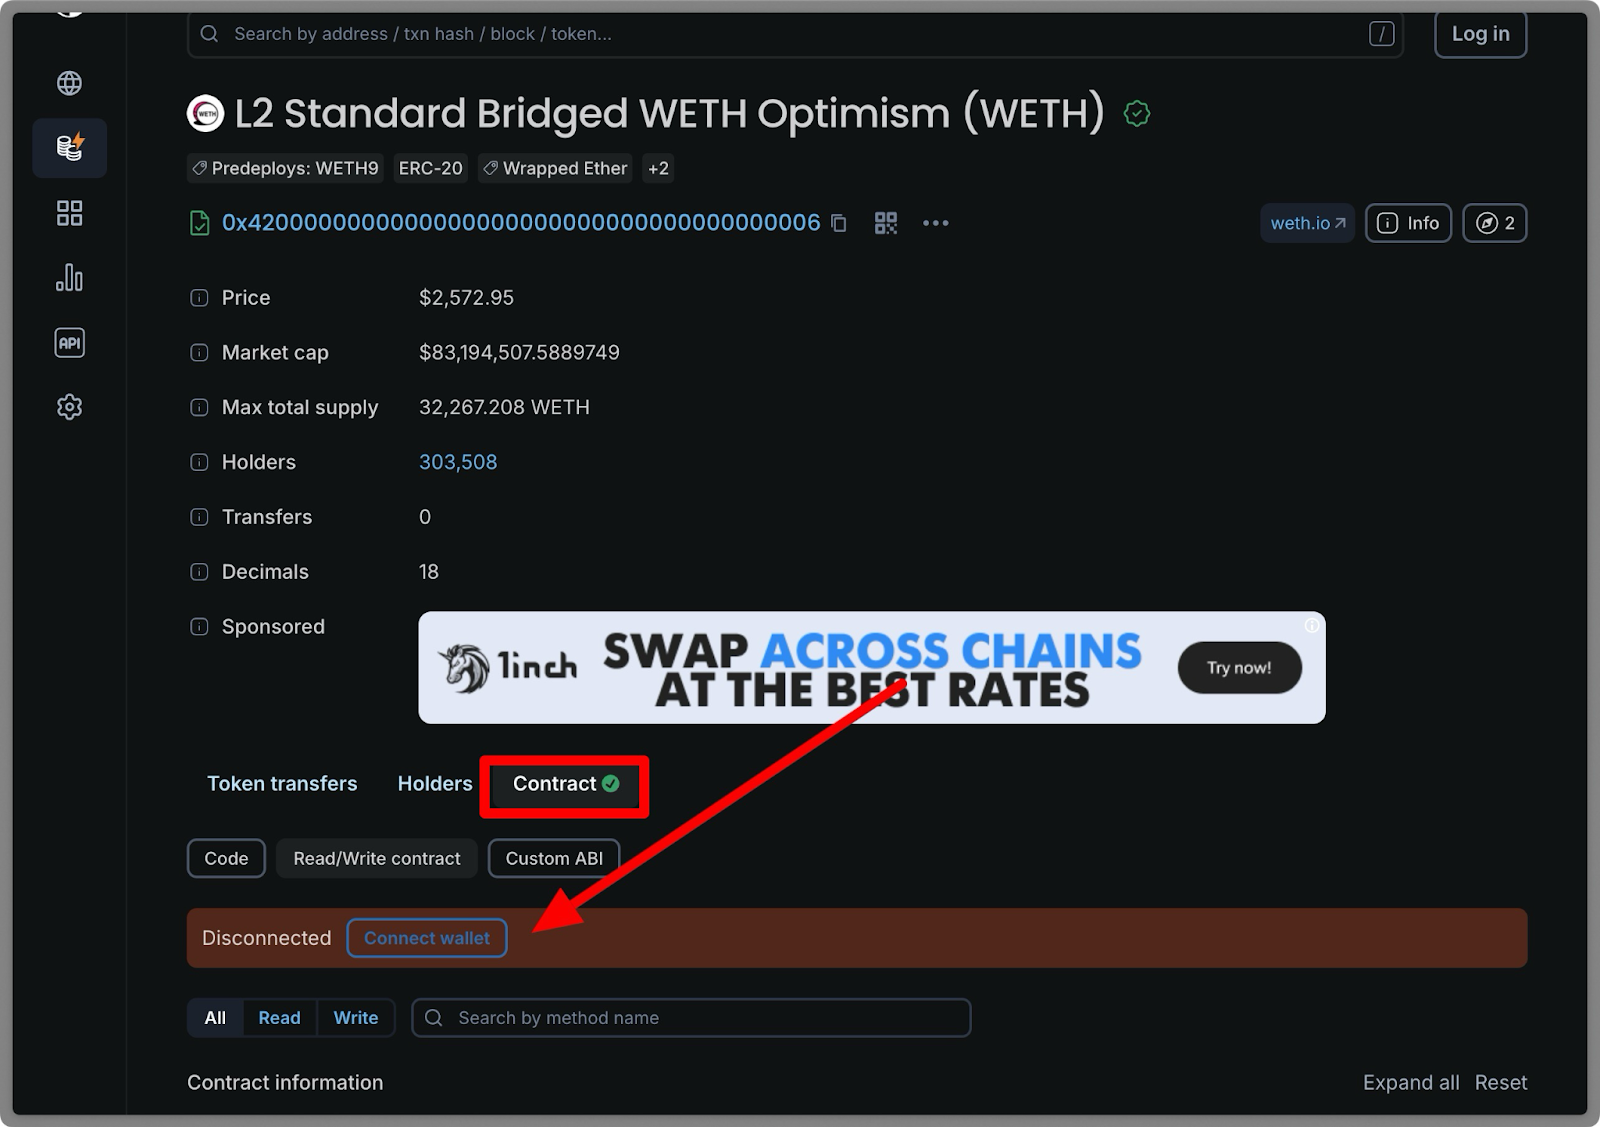
Step 1: Navigate to the Contract
- Go to https://optimism.blockscout.com/
- Enter the contract address (0x4200000000000000000000000000000000000006) in the search bar.
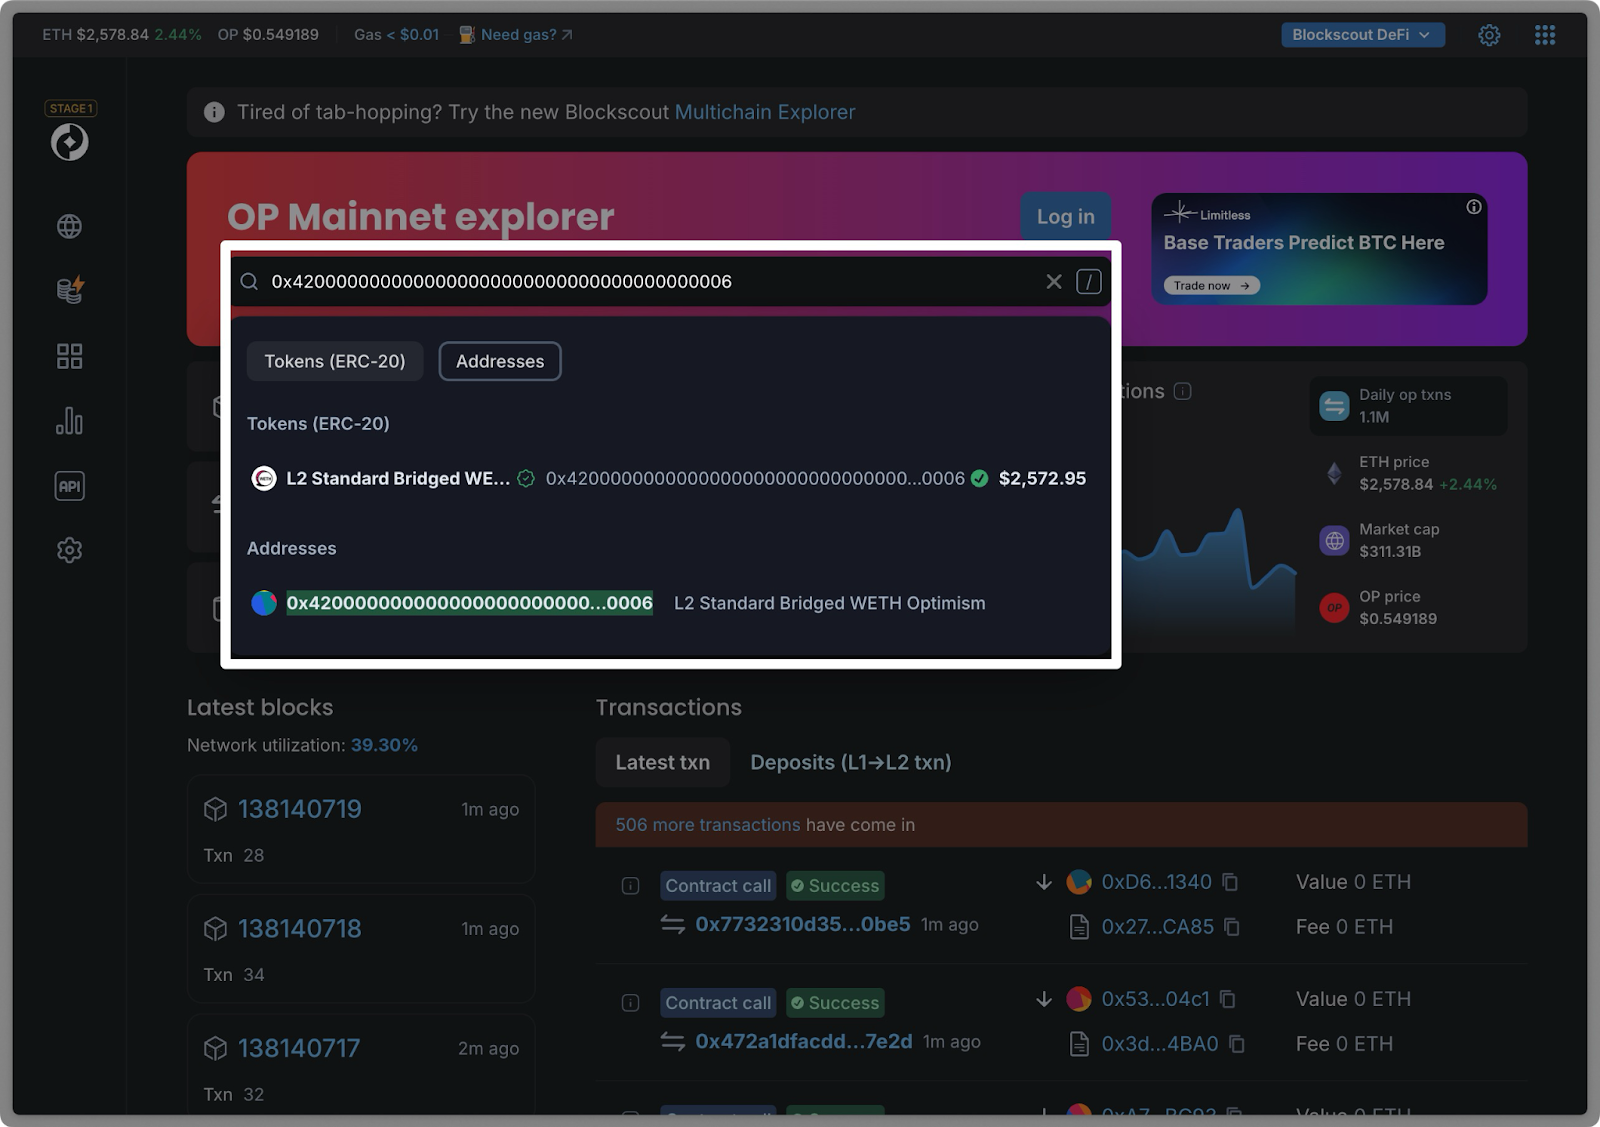
- Click on the contract page result.
- Check for the verification checkmark next to "Contract."
Step 2: Connect your wallet
Click the Connect Wallet button to link your wallet. Reading operations don't require gas, but a wallet connection is needed for identification.
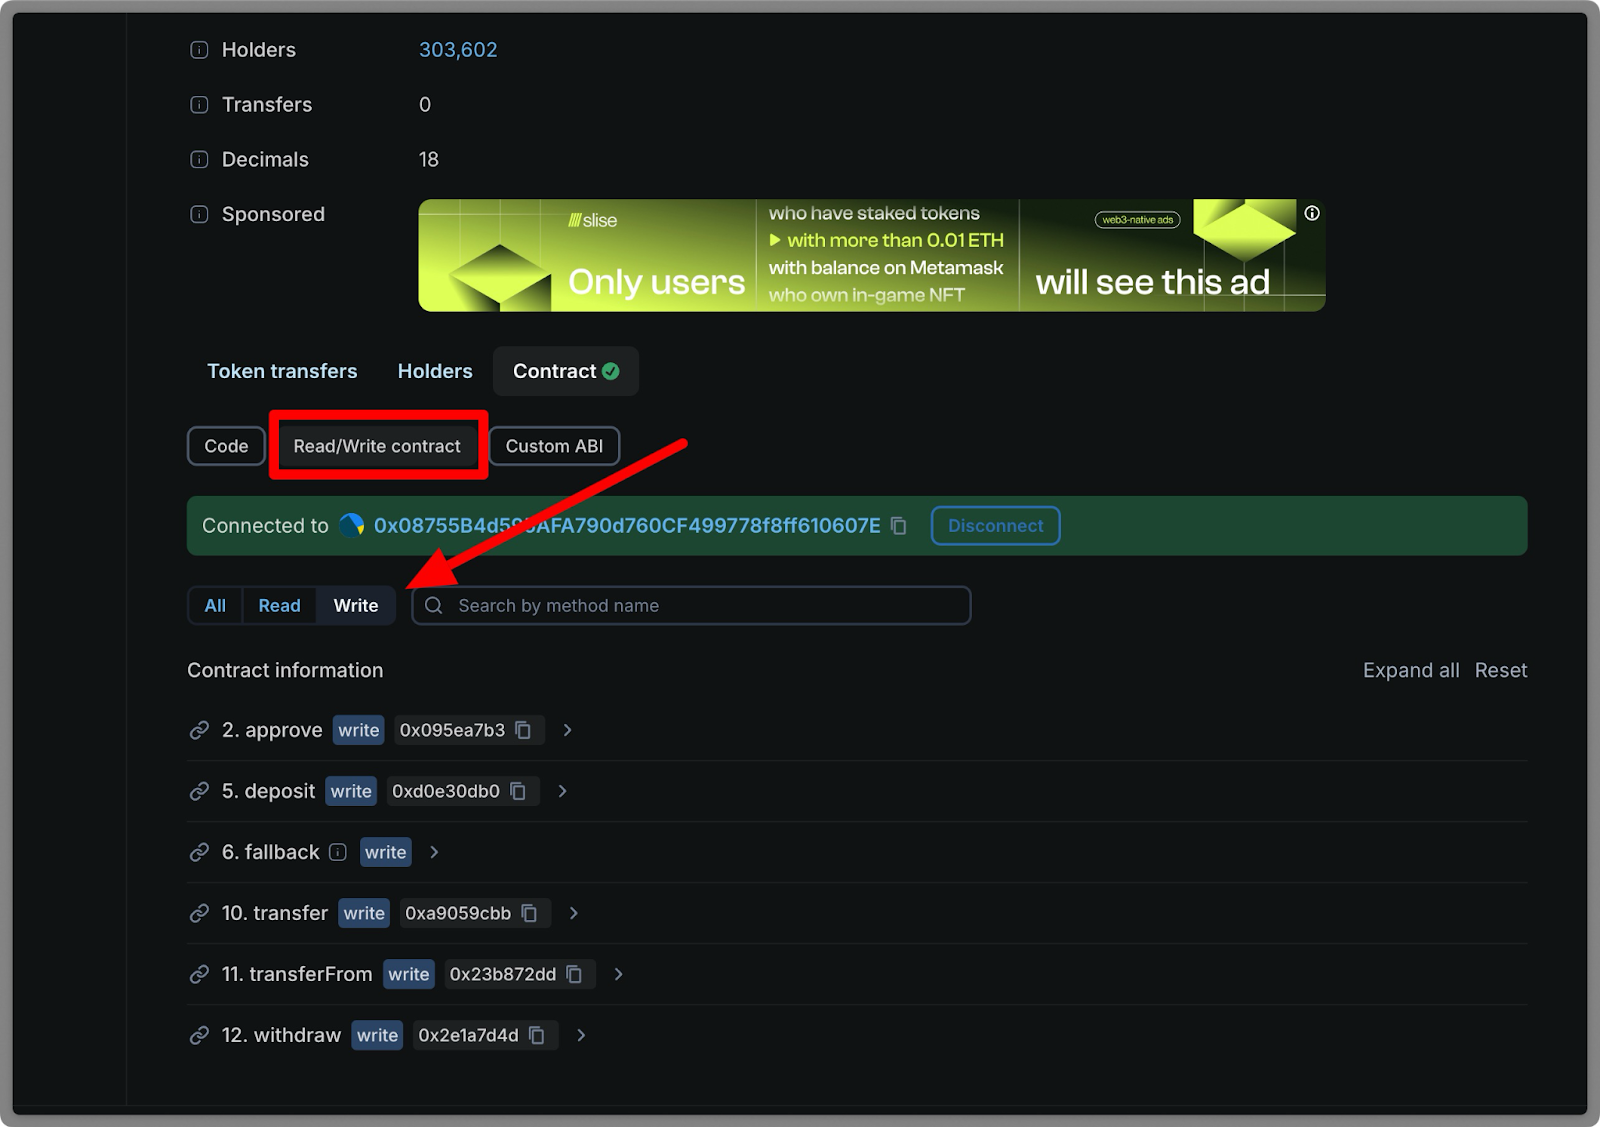
Step 3: Execute Read Functions
- Click the “Read/write contract” tab, then select the read tab to start browsing the methods.

- For functions requiring parameters, fill in the required fields and click the “Read” button to execute the query.
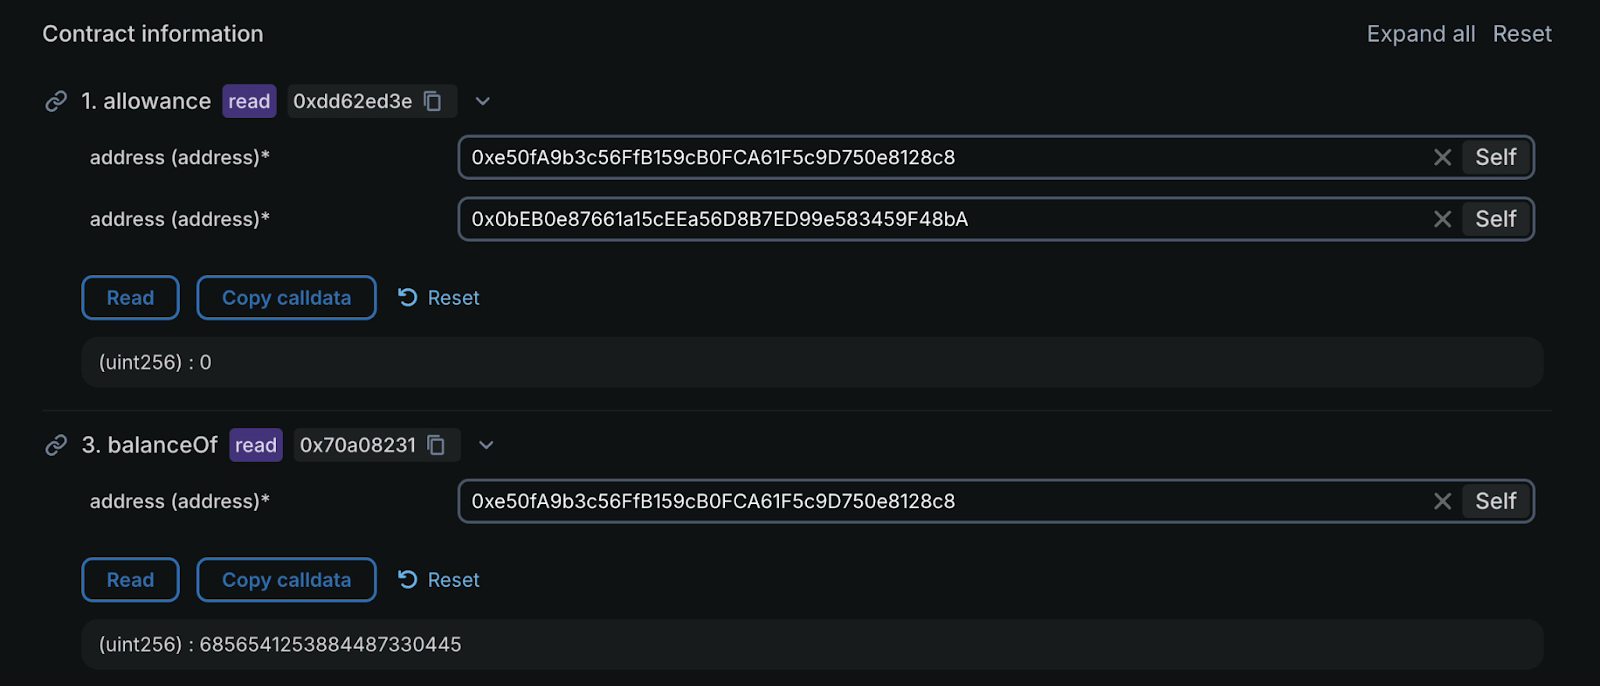
To test the balanceOf and allowance methods, I used a random contract addresses on the Optimism network. Put in any random addresses that holds WETH and view the result.
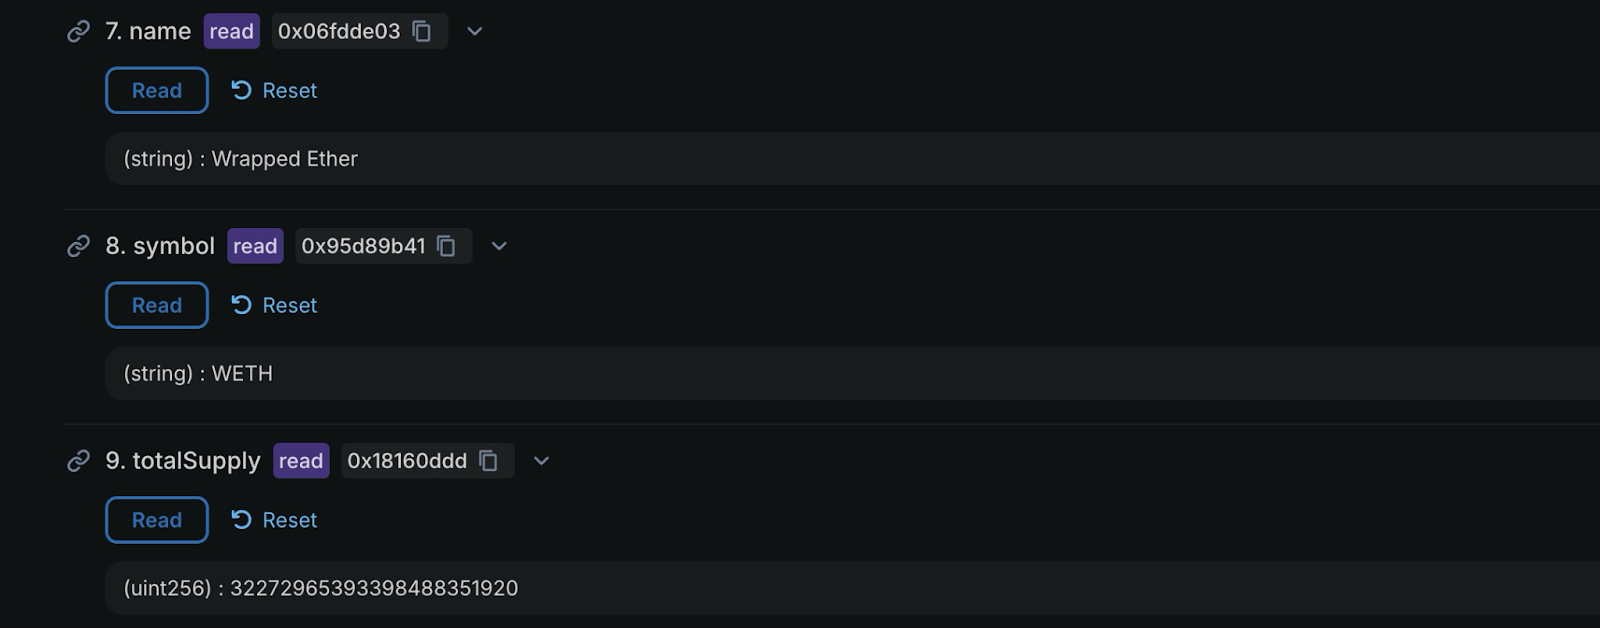
For other methods that don't require parameters, click "Read" to execute the query. View the results displayed below the function.
Writing to the WETH9 Contract
Writing operations are irreversible and cost gas. Before you continue, ensure that;
- Your Web3 wallet has sufficient ETH for gas fees
- You understand the function you want to execute
Step 1: Navigate to the Write Methods
Click the Write tab to access the Write functions
Step 2: Fill in the Parameters
Understand what the function will do, then carefully enter all required parameters.
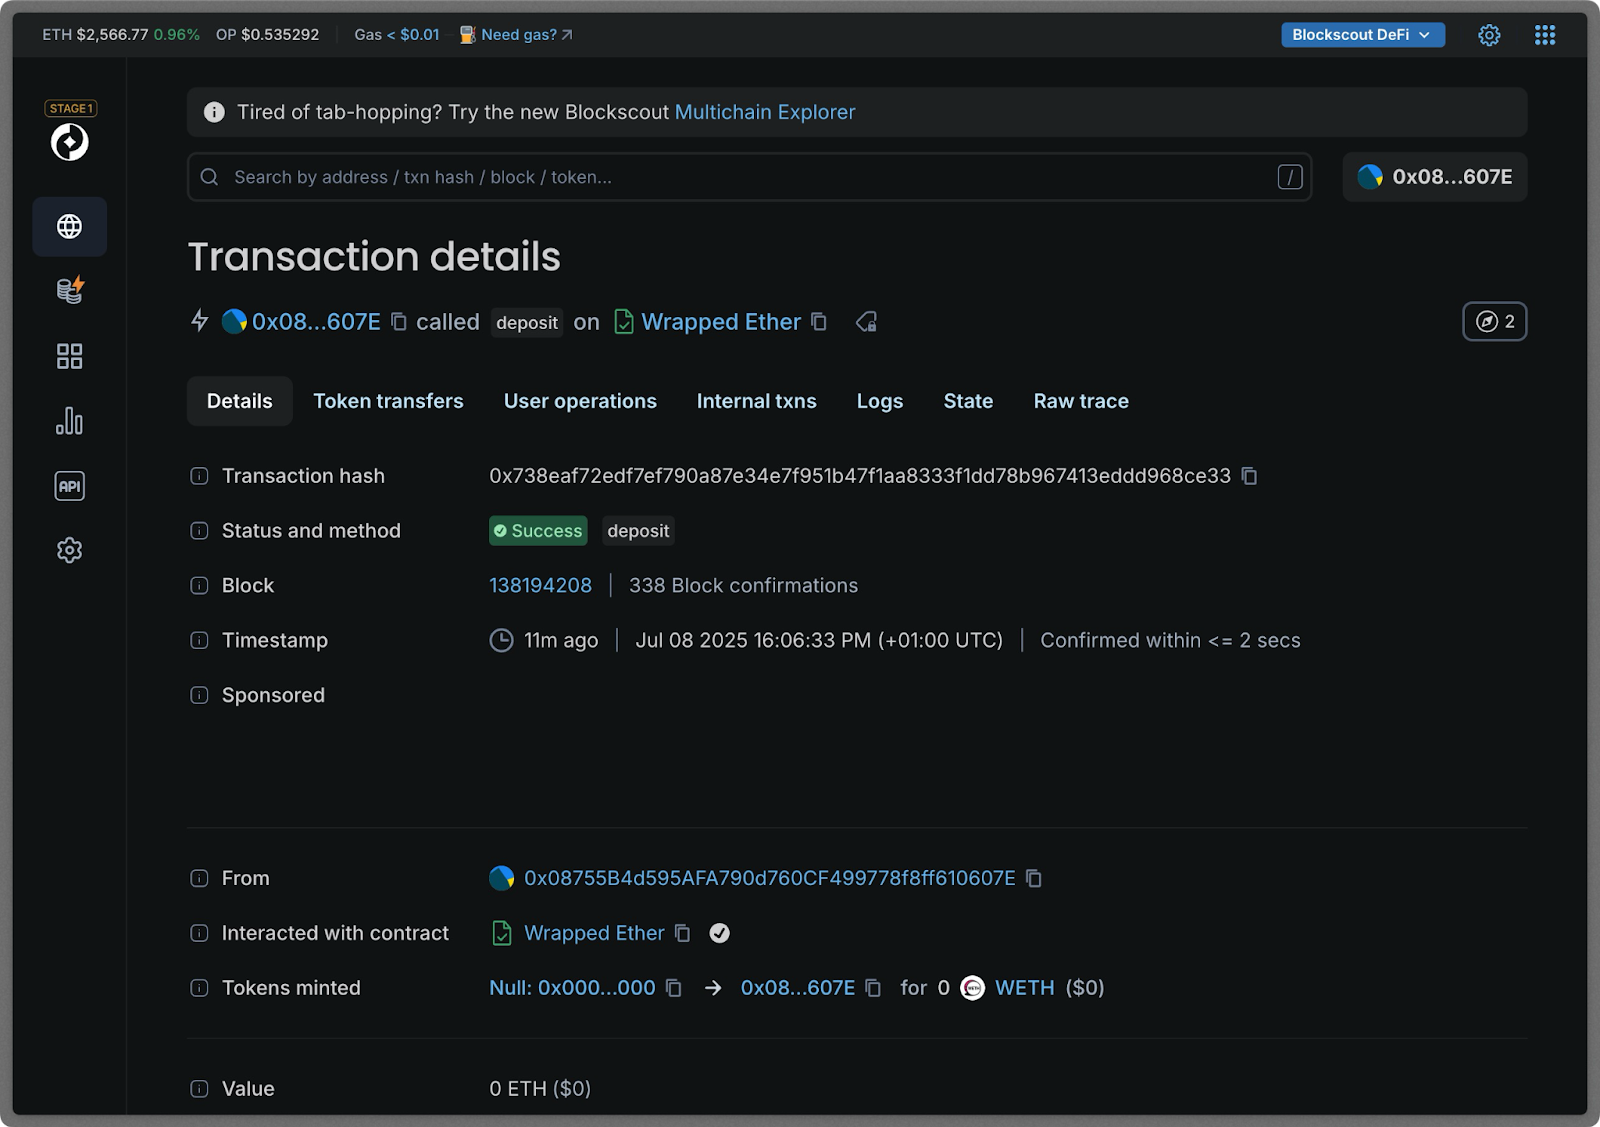
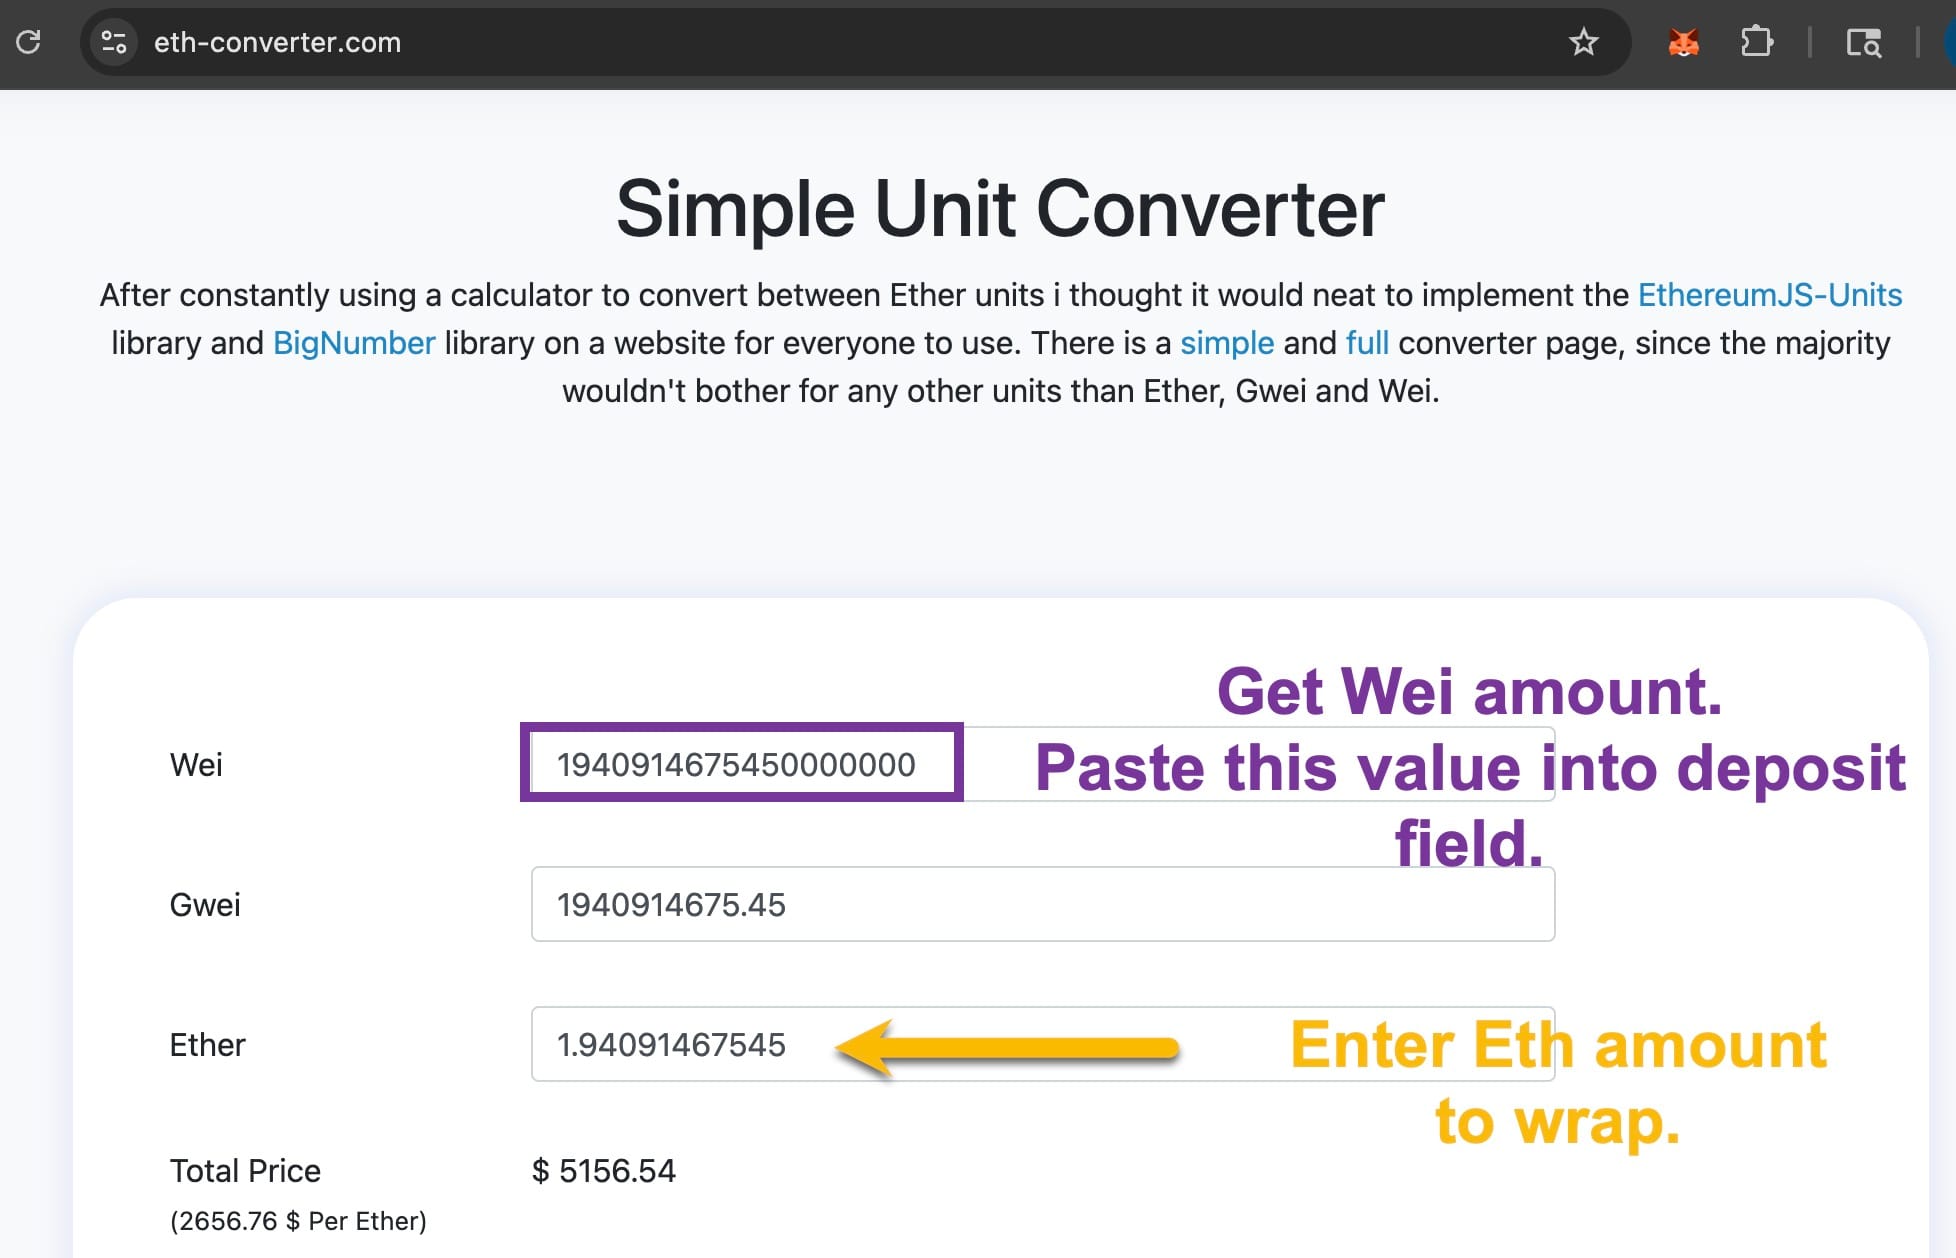
For example, with the deposit function, we can send native ETH to this contract and get wrapped ETH (WETH) in return.

The value of ETH is automatically converted to Wei if you paste in. If not, you can use a Wei calculator (ie https://eth-converter.com/) to enter the amount of ETH you want to convert and it will give you the value in WEI.

Click the "Write" button.
Step 3: Execute Transaction
Review the transaction pop-up in your wallet.
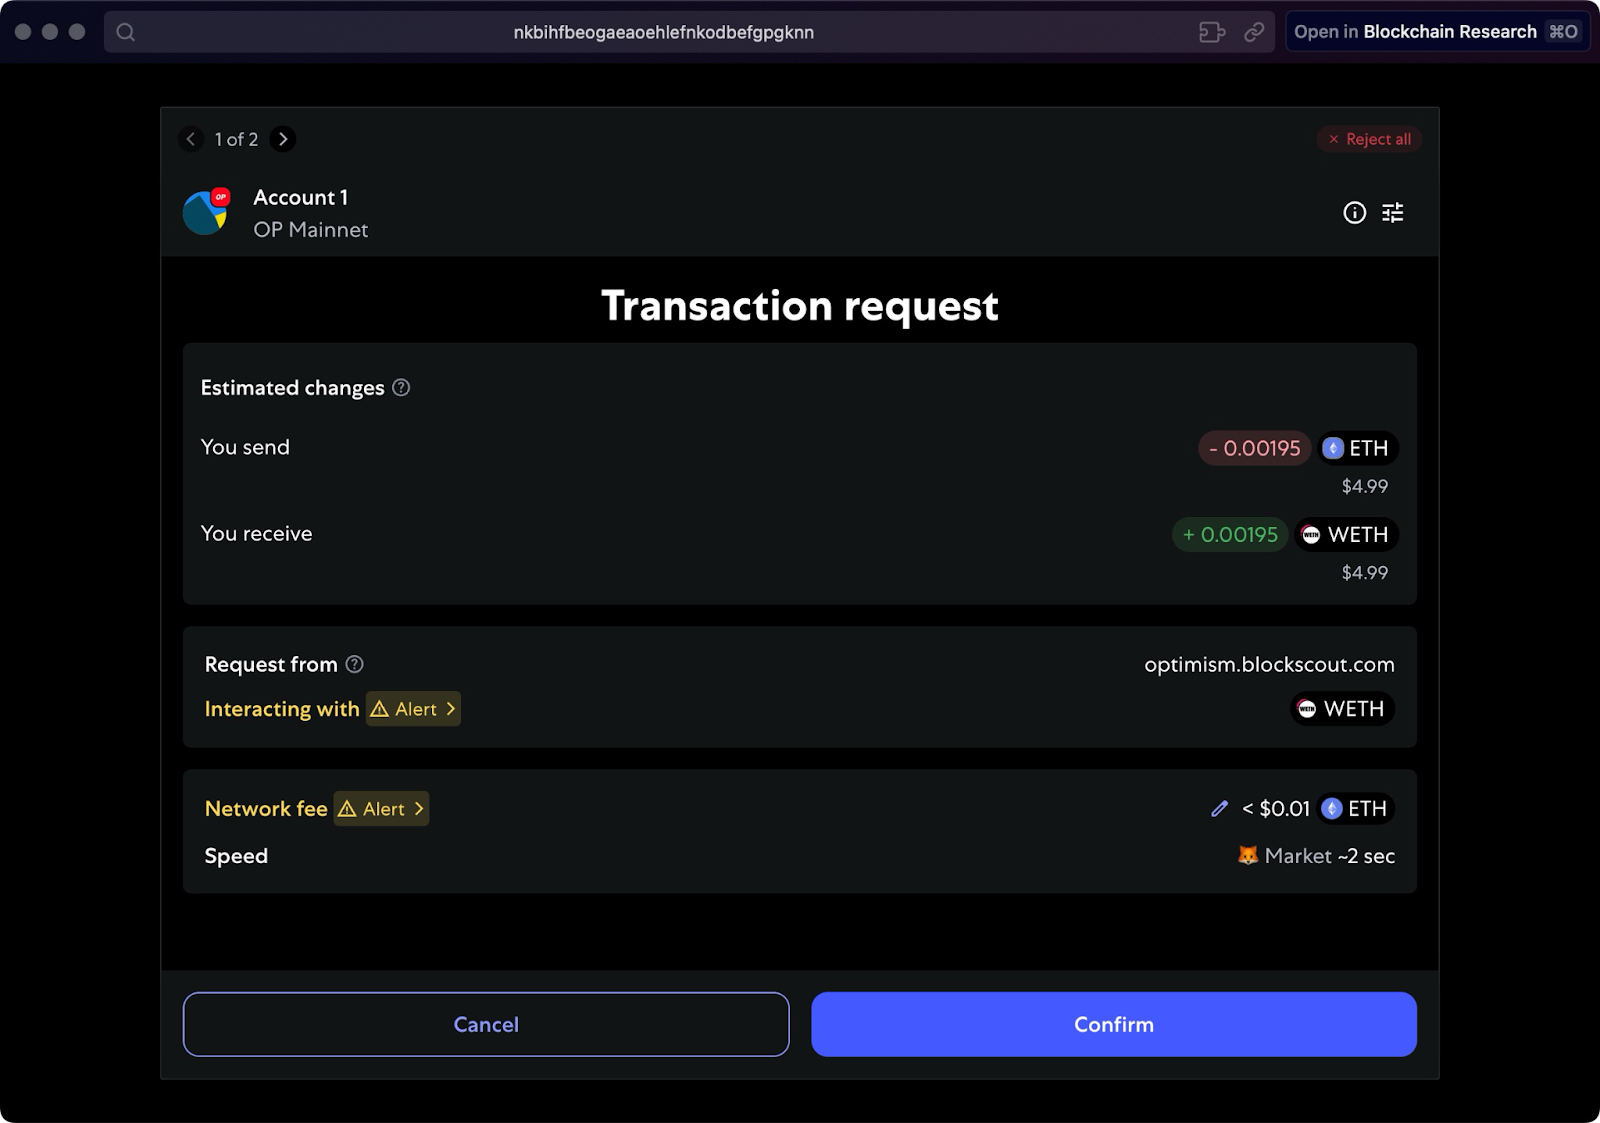
Check gas fees (both L2 execution and L1 data fees), then confirm and sign the transaction.

You can view the details of the transaction by clicking “View transaction details.”