
How to Deploy with Hardhat and Verify Your Smart Contract with the Blockscout UI
Learn how to verify smart contracts using Hardhat and the Blockscout UI. Ensure transparency, build user trust, and unlock full read-write interaction across EVM chains with Blockscout’s smart contract tools.

Verifying smart contracts is a vital step in ensuring transparency and trust in blockchain applications. Through verification, users can review the source code of deployed contracts, fostering confidence and facilitating deeper interaction with decentralized systems.
Blockscout simplifies this process across various EVM-compatible chains and this is just one of the features that Blockscout offers for comprehensive smart contract coverage, along with advanced capabilities for reading, writing, and interacting with contracts and proxies. In this article, we’ll guide you through verifying your smart contracts directly through the Blockscout UI using Hardhat to deploy the contracts.

Step 1. Set up Project with Hardhat.
Before proceeding you will need the following:
- Nodejs
- Node Package Manager (NPM)
- An IDE for editing code (ex VCS, Cursor etc)
- Development wallet address (recommend not using your primary wallet)
- Sepolia ETH for deployment (Use a faucet)
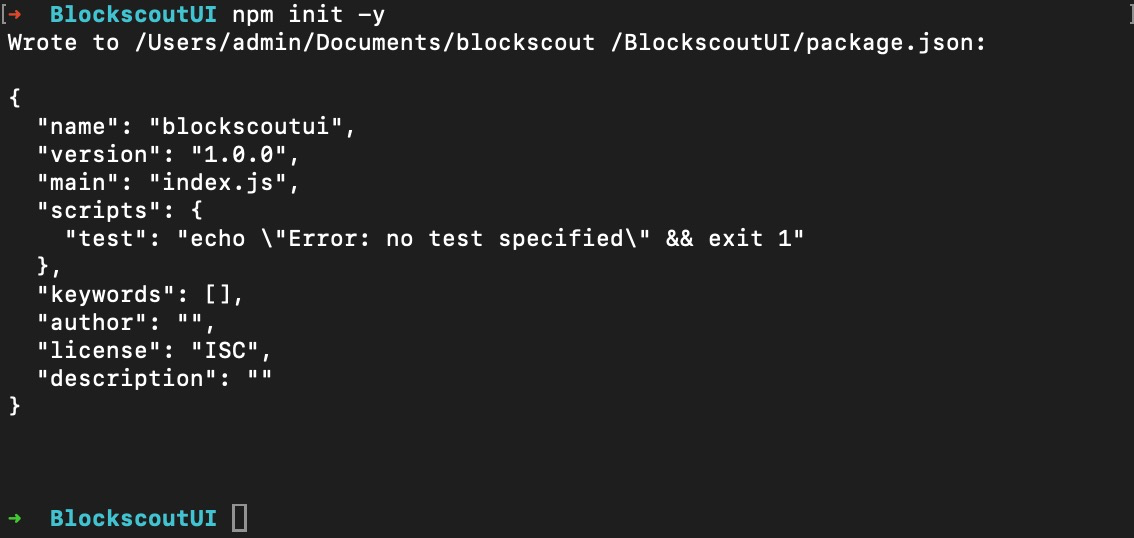
1. Initialize a new project using npm.
Enter the root directory of your system and run.
npm init -y
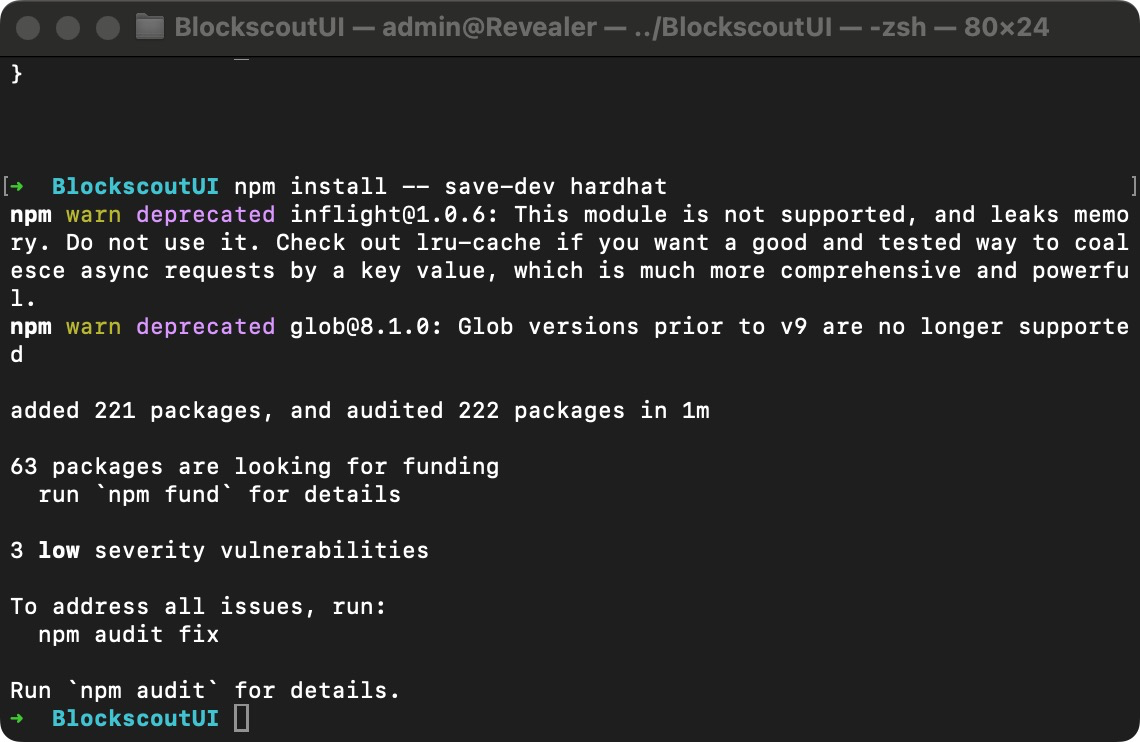
2. Install Hardhat
npm install -- save-dev hardhat
3. Run the setup wizard
npx hardhat

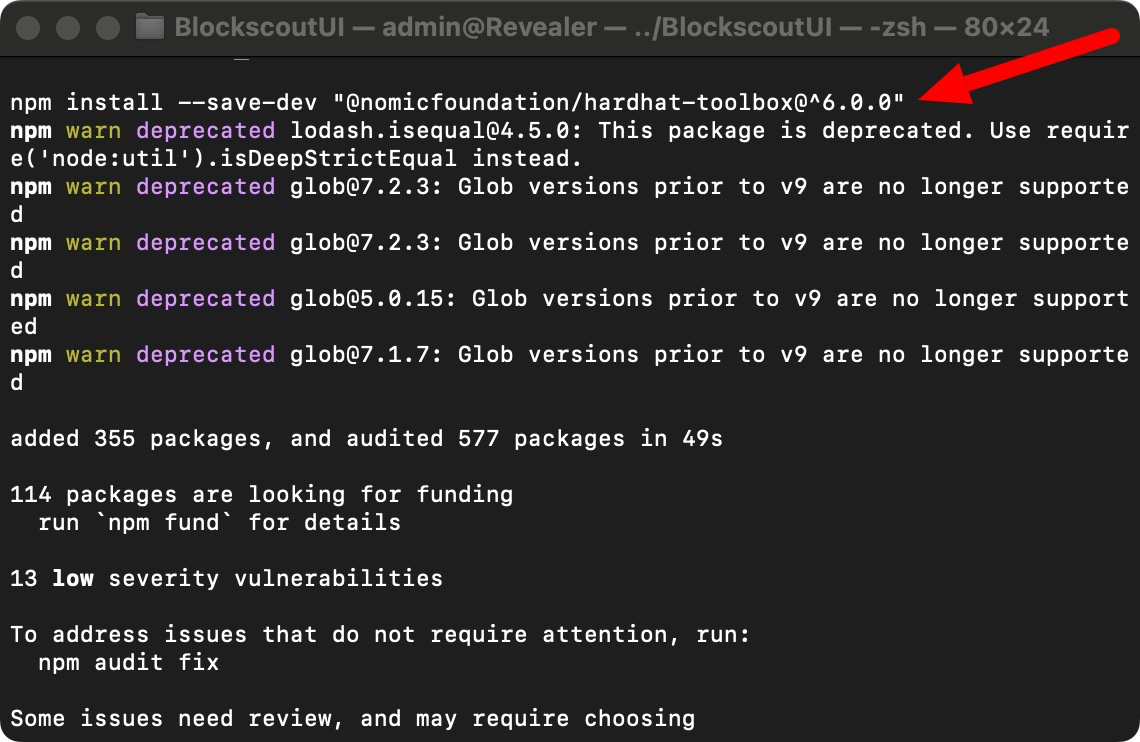
4. Install hardhat toolbox
npm install --save-dev hardhat @nomicfoundation/hardhat-toolbox
In your IDE, go to your hardhat.config.ts file and make sure the toolbox is added;
import "@nomicfoundation/hardhat-toolbox";
Your file should look like this;
import { HardhatUserConfig } from "hardhat/config";
import "@nomicfoundation/hardhat-toolbox";

const config: HardhatUserConfig = {
  solidity: "0.8.28", // or your version
};

export default config;
Step 2. Setup your Config file
Install dotenv to save your private keys and network URL/RPC info in your editor
Go to the Root of your project and Run;
npm install dotenv
Create a .env file and add your Network info;
Unix
touch .env
Windows
type nul > .env
Add Network Info
echo PRIVATE_KEY=your_private_key_here > .env echo SEPOLIA_RPC_URL=your_rpc_key_here >> .envImport Hardhat Ignition to deploy the contract.
Install if you don't have already
npm install --save-dev @nomicfoundation/hardhat-ignition
Check that your hardhat.config.ts looks like the the example below, adding import "@nomicfoundation/hardhat-toolbox";
import { HardhatUserConfig } from "hardhat/config";
import "@nomicfoundation/hardhat-toolbox";
import "@nomicfoundation/hardhat-ignition";
import * as dotenv from "dotenv";
dotenv.config();

const config: HardhatUserConfig = {
  solidity: "0.8.28",
  networks: {
    sepolia: {
      url: process.env.SEPOLIA_RPC_URL || "",
      accounts: process.env.PRIVATE_KEY ? [`${process.env.PRIVATE_KEY}`] : [],
    },
  },
};

export default config;
Create a Counter contract
Add this file to your contracts folder and save as Counter.sol
// SPDX-License-Identifier: MIT
pragma solidity ^0.8.28;

contract Counter {
    uint256 public count;

    // Increment the counter by 1
    function increment() public {
        count += 1;
    }

    // Decrement the counter by 1
    function decrement() public {
        require(count > 0, "Count cannot go below zero");
        count -= 1;
    }

    // Get the current count (not needed but added for clarity)
    function getCount() public view returns (uint256) {
        return count;
    }
}
Create a Deployment module
Go to your Ignition/modules folder and create a file CounterModule.ts for your deployment module or replace the existing one.
import { buildModule } from "@nomicfoundation/hardhat-ignition/modules";

const CounterModule = buildModule("CounterModule", (m) => {
  const counter = m.contract("Counter");

  return { counter };
});

export default CounterModule;
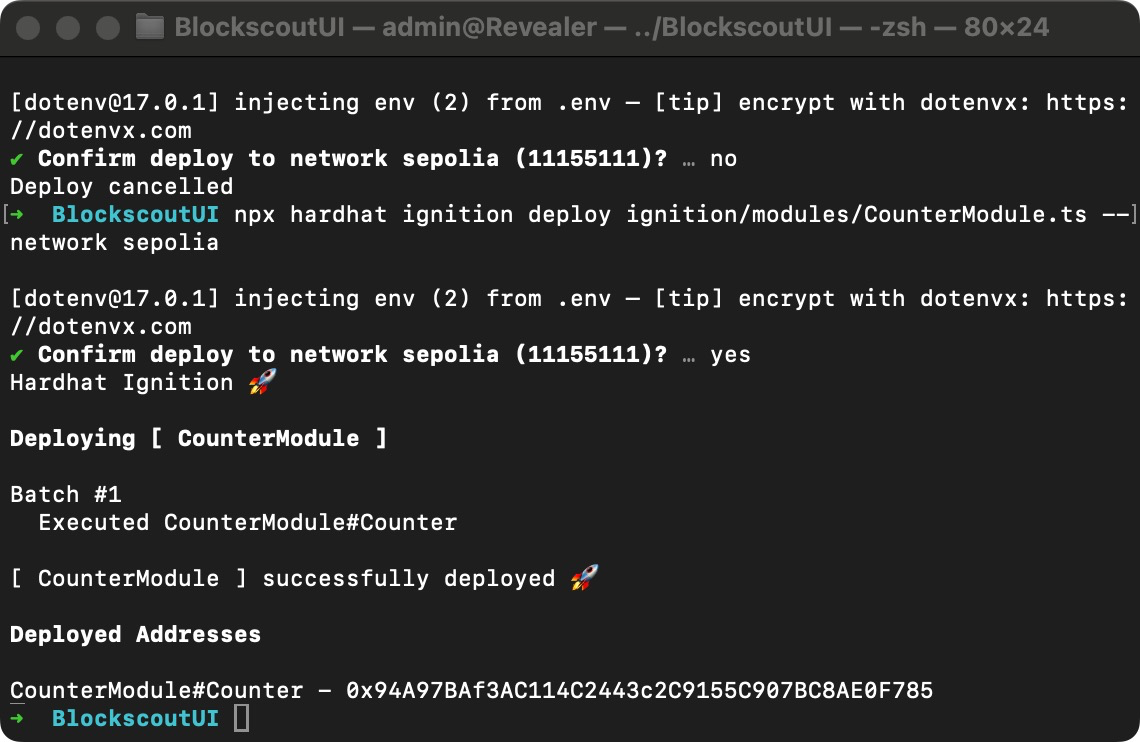
Deploy using Hardhat ignition
Run
npx hardhat ignition deploy ignition/modules/CounterModule.ts --network sepolia
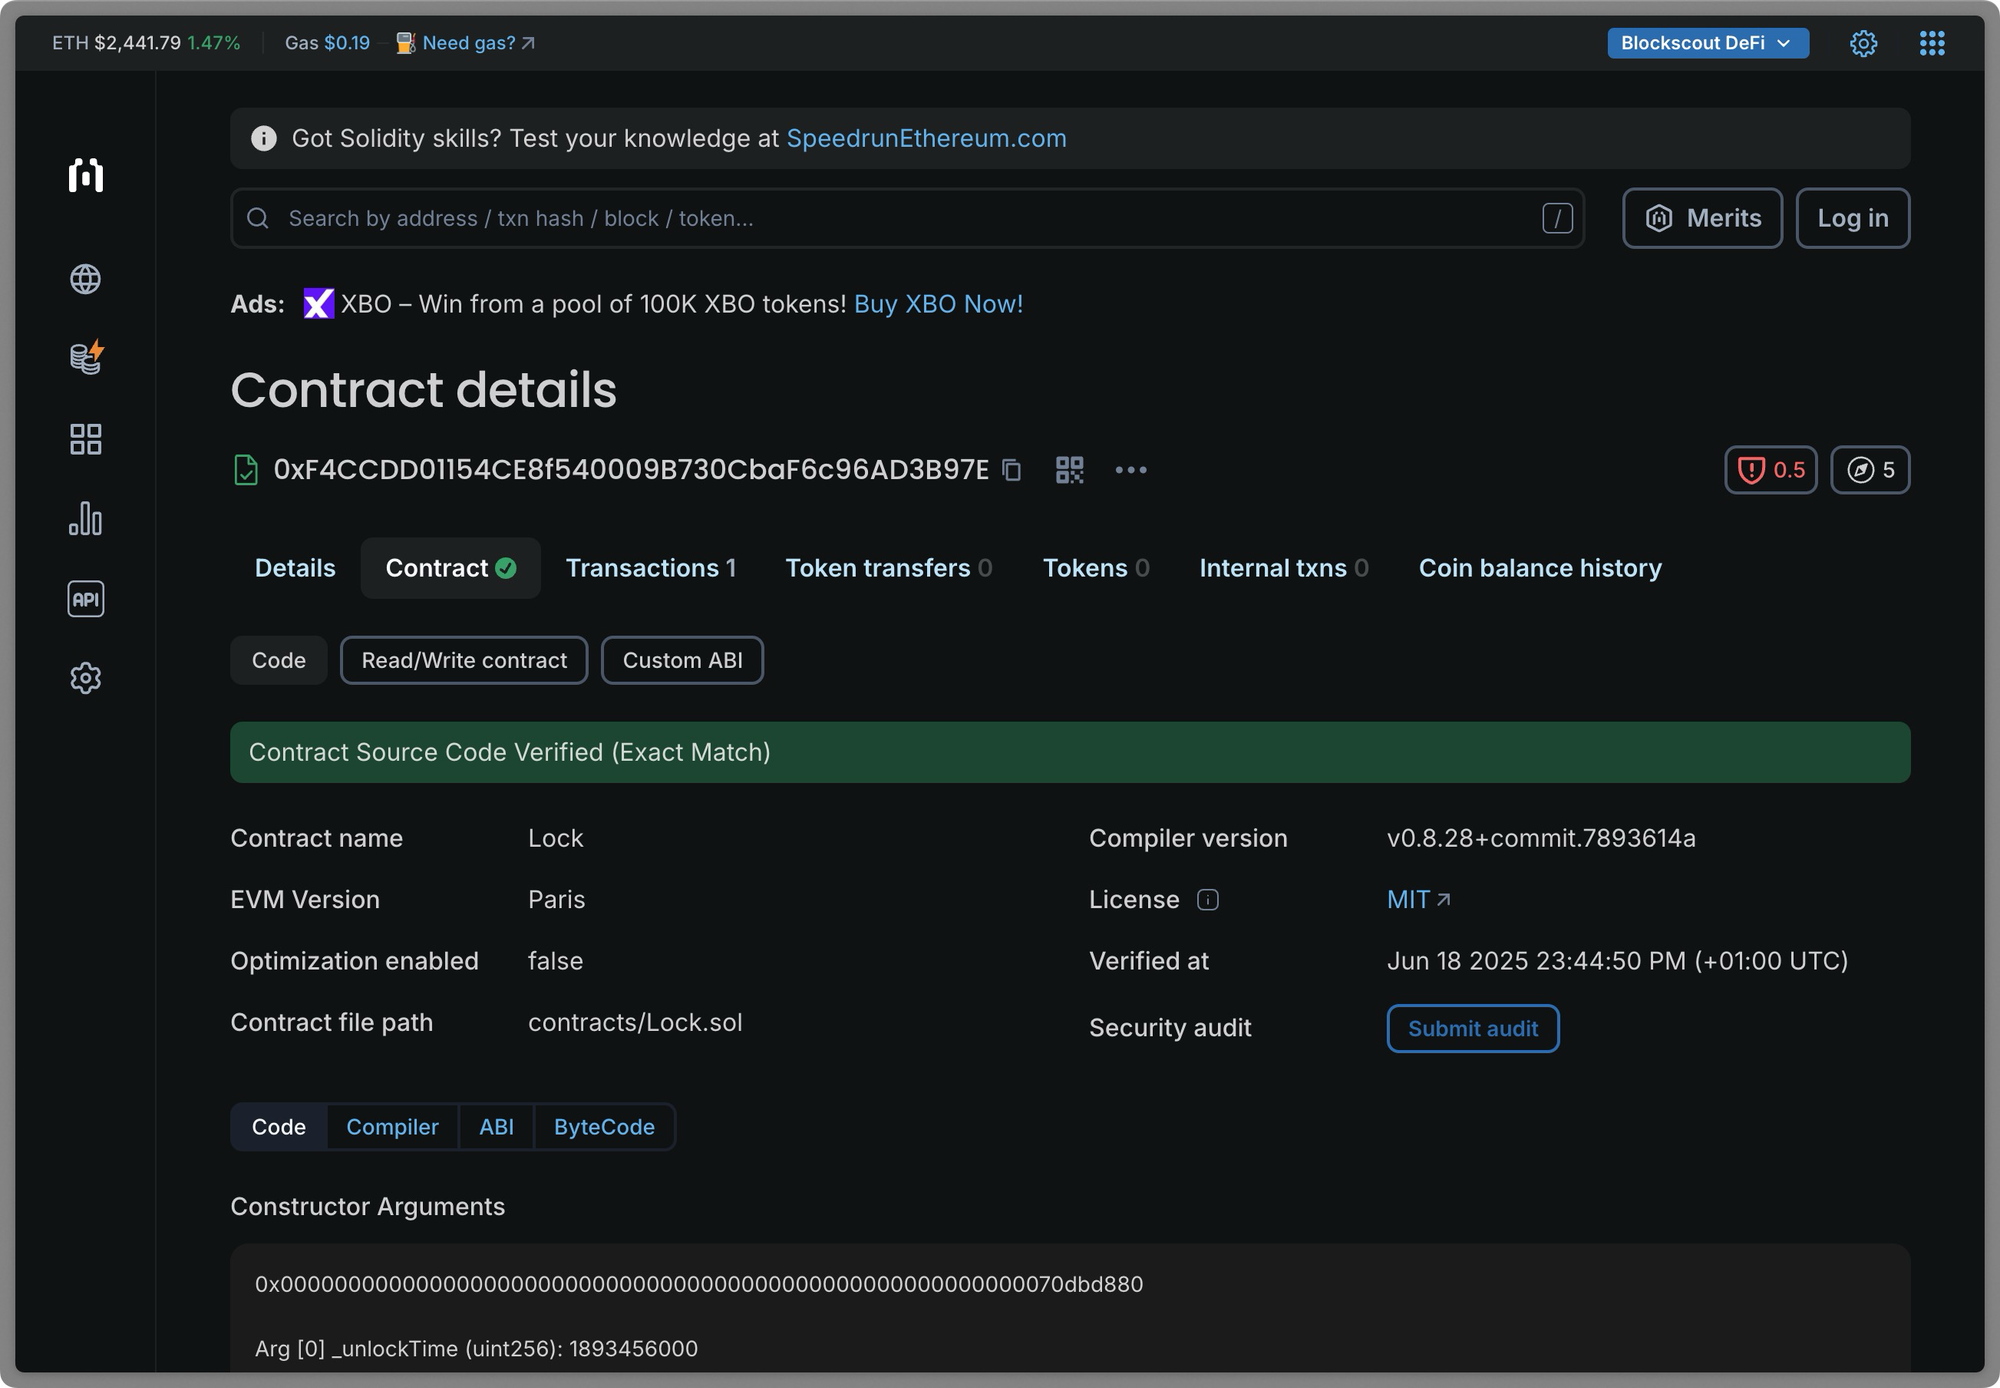
Step 3. Verify on Blockscout UI
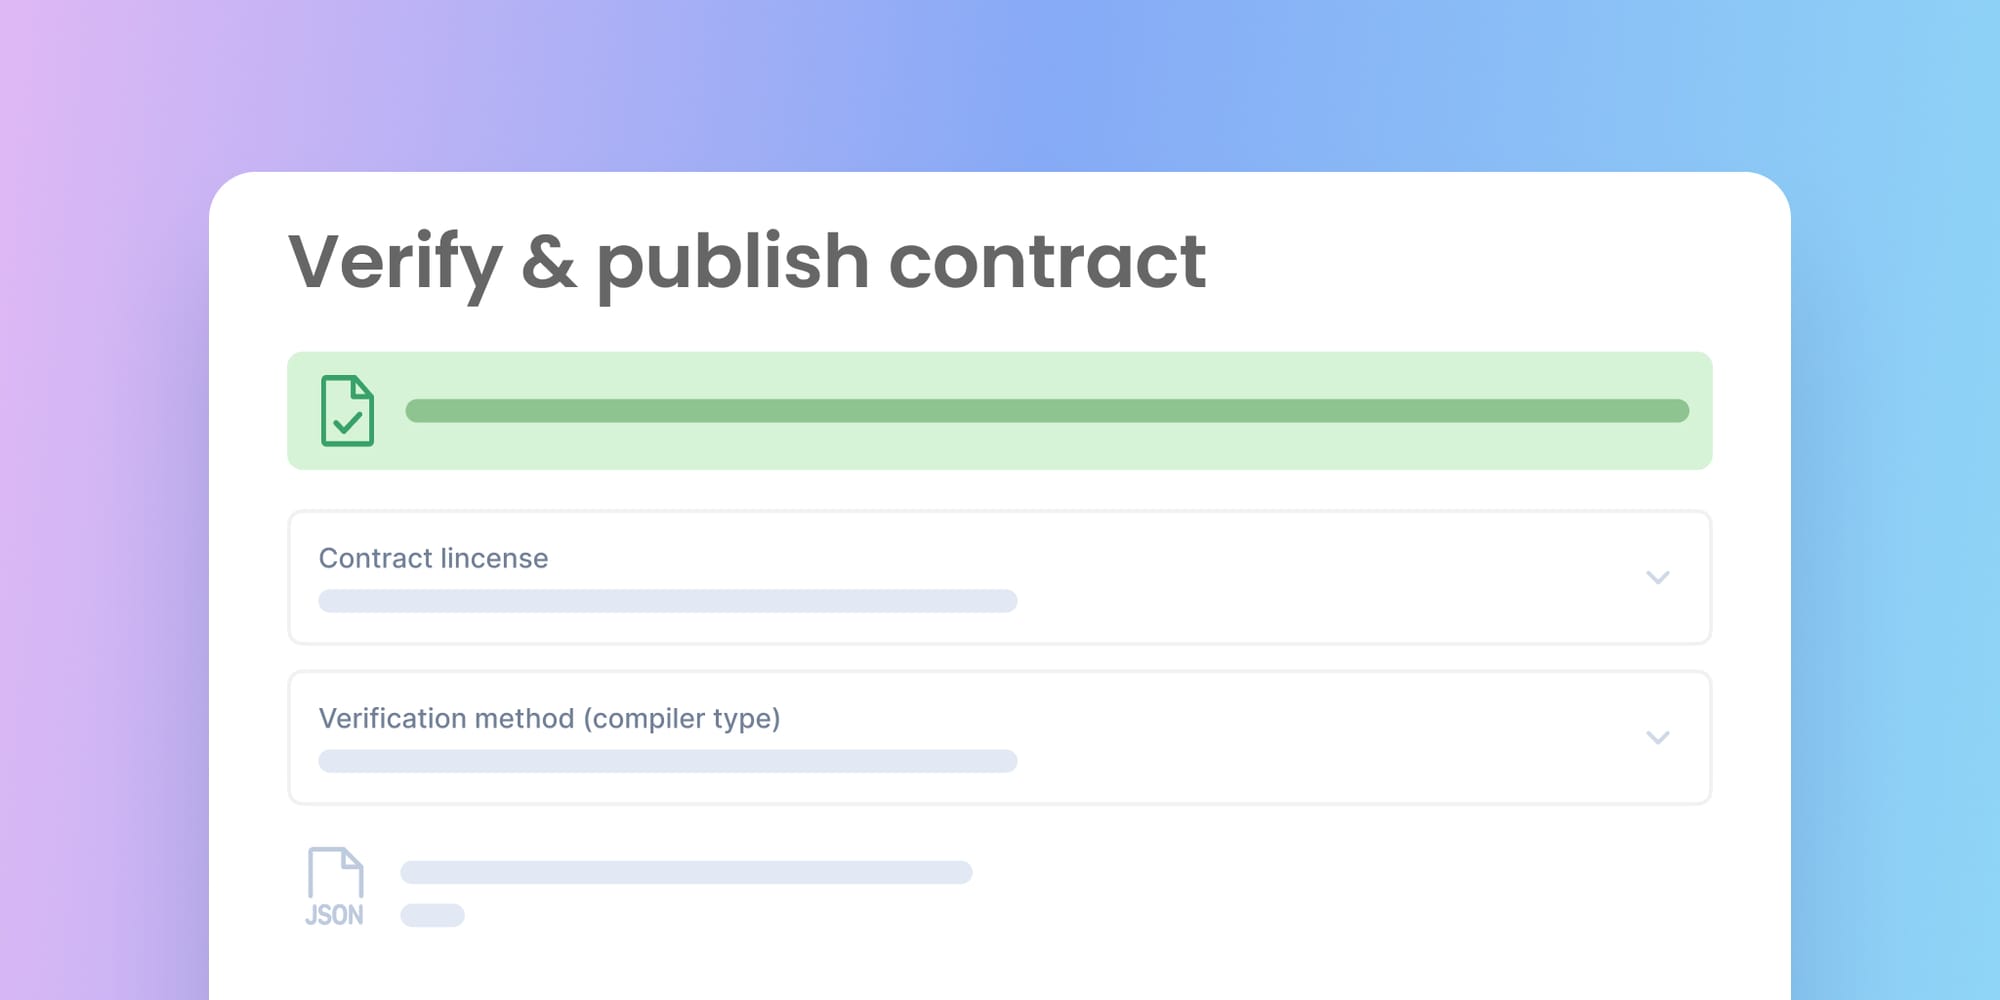
Paste the deployed contract address on the search bar and click on the details. Next click the Verify and publish button.

You will be directed to the verification page; fill in the details of your smart contract.
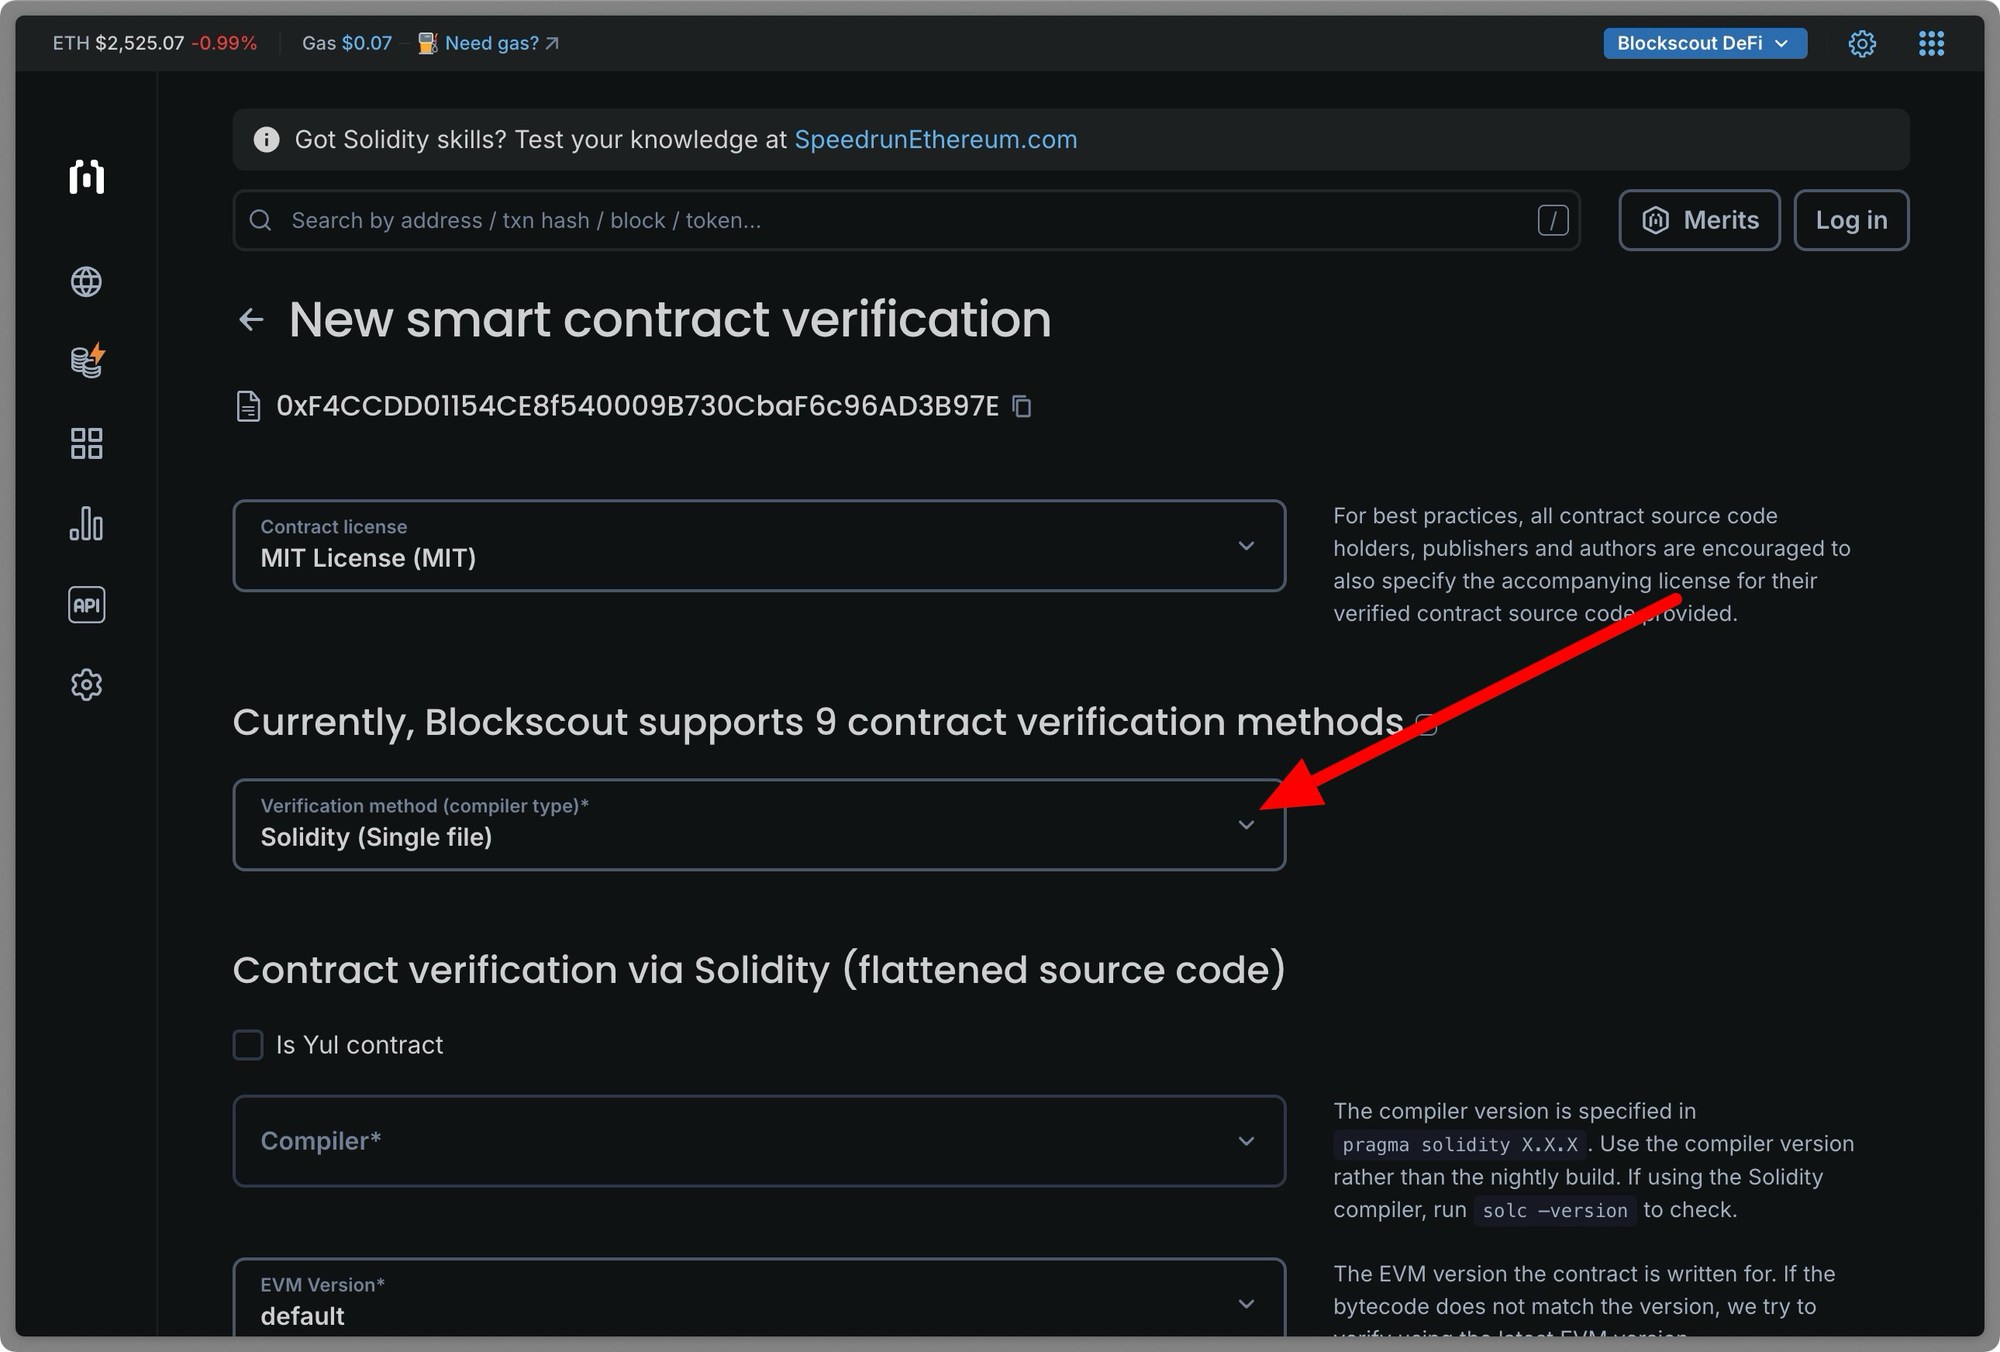
Contract License
This is a legal notice declared at the very top of a smart contract file using the SPDX-License-Identifier. It is an optional field.
Verification method
Blockscout provides up to nine methods for verifying your contracts.
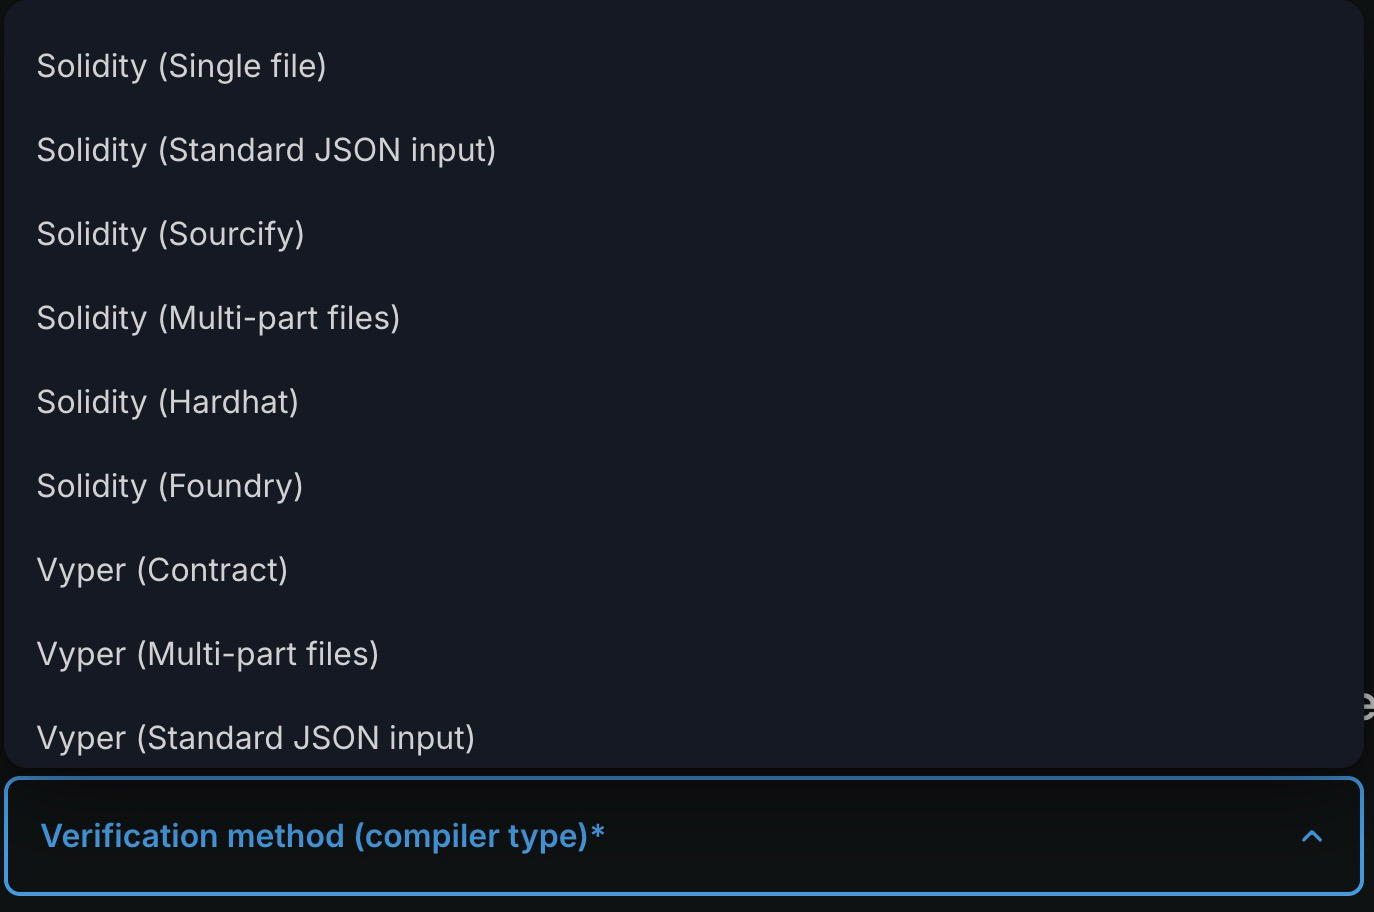
-
Solidity (Single file) - Can be used for unverified contracts
-
Solidity (Stardard Json Output) - Can be used for partially verified contracts.
-
Solidity (Sourcify) - Used for contracts verified with sourcify
-
Solidity (Multi-part files) - Can be used for unverified contracts
-
Soldidty (Hardhat) - Used for contracts verified with harhat
-
Solidity (Foundry) - Used for contracts deployed with foundry
-
Vyper (contract) - Can be used for unverified vyper contracts
-
Vyper (Multipart files) - Can be used for unverified multiple vyper contracts
-
Vyper (Stardard Json Output) - Can be used for partially verified vyper contracts.
Selecting a verification method will generate a set of configuration options based on the chosen method. For example, when using Solidity Standard JSON Output, you need to import your JSON file and select your compiler version.
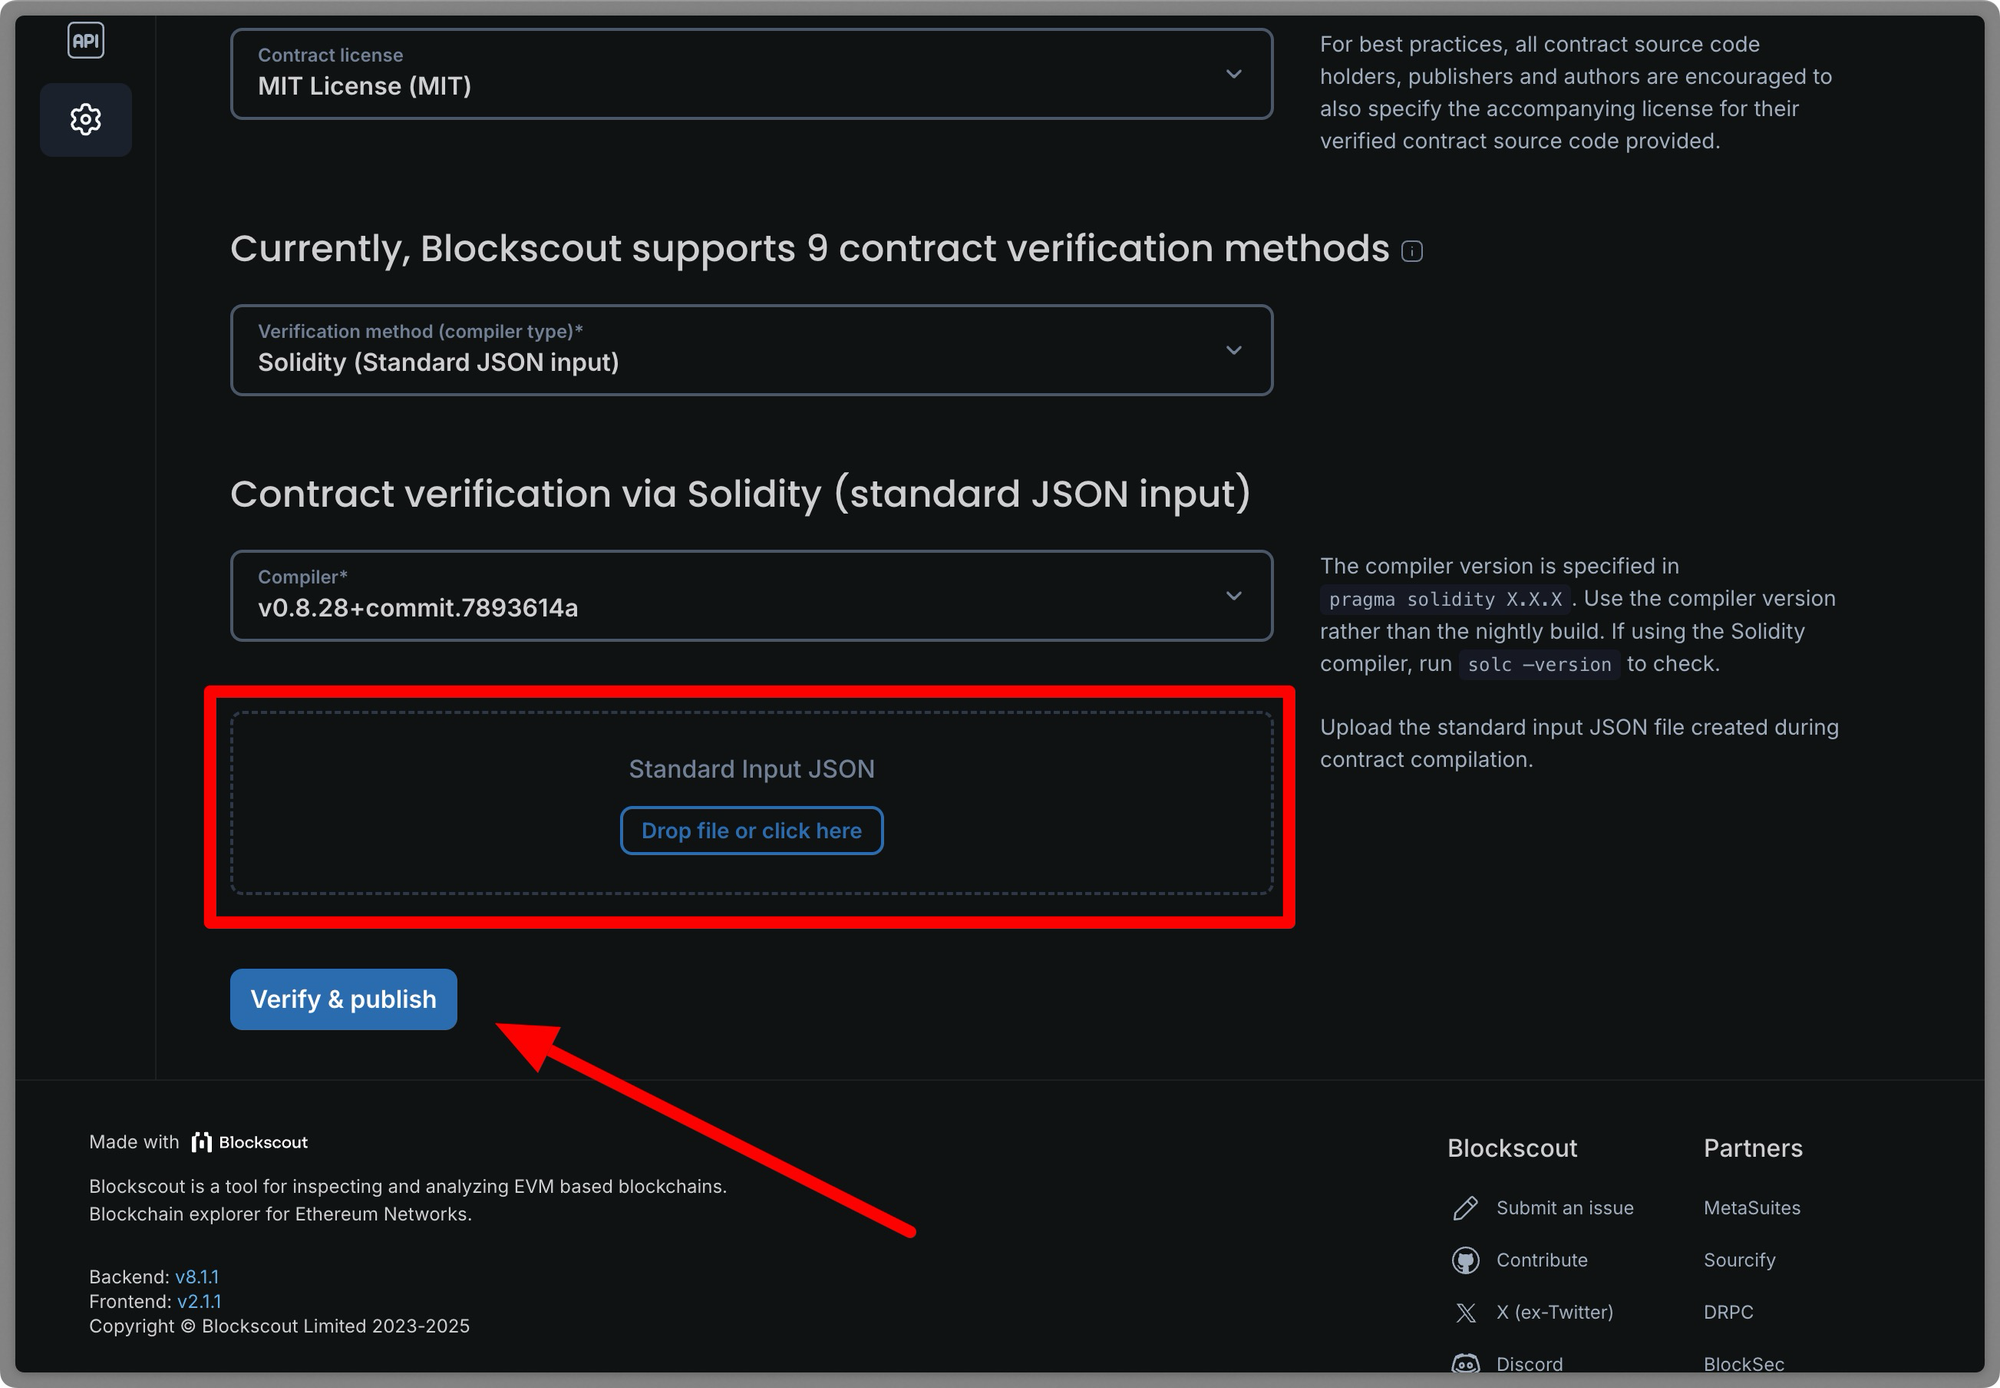
Add your extracted JSON
The standard JSON file includes additional information that is not used in the verification process. Extract the information inside the "input": object and save as its own JSON, then drop that saved file into the interface.
To extract, you may want to prettify the JSON to find the input object.Shift + Alt + F (Windows/Linux)Shift + Option + F (Mac)
and select prettier json format
Original example JSON:
Extracted example JSON:
You can also use chatgpt or other ai assistance to easily extract this object. Be sure the file starts with { (delete the input: before the object).
{
  "language": "Solidity",
  "sources": {
    "contracts/Counter.sol": {
      "content": "// SPDX-License-Identifier: MIT\npragma solidity ^0.8.28;\n\ncontract Counter {\n    uint256 public count;\n\n    // Increment the counter by 1\n    function increment() public {\n        count += 1;\n    }\n\n    // Decrement the counter by 1\n    function decrement() public {\n        require(count > 0, \"Count cannot go below zero\");\n        count -= 1;\n    }\n\n    // Get the current count (not needed but added for clarity)\n    function getCount() public view returns (uint256) {\n        return count;\n    }\n}\n\n"
    }
  },
  "settings": {
    "evmVersion": "paris",
    "optimizer": {
      "enabled": false,
      "runs": 200
    },
    "outputSelection": {
      "*": {
        "*": [
          "abi",
          "evm.bytecode",
          "evm.deployedBytecode",
          "evm.methodIdentifiers",
          "metadata"
        ],
        "": ["ast"]
      }
    }
  }
}
Example of JSON which only contains the information contained in the input object.
Click on the Verify and publish button. The Exact Match verification may take a short while to propagate in the explorer UI.
Conclusion
Verifying smart contracts through the Blockscout UI is an effective way to enhance transparency, trust, and credibility in your decentralized applications. Making your source code public allows users and developers to inspect, audit, and interact with your contracts more confidently.
Blockscout’s support for multiple verification methods streamlines the process across various EVM-compatible networks, and its user-friendly interface, combined with advanced tools for interacting with both contracts and proxies, gives developers a significant edge over manual or CLI-based verification methods.